
Step into the fabulous world of creativity with Katelyn Spencer! She’s taken our Enchanted Forest Album Kit and transformed it into a mesmerizing Interactive Folio Album, using the stunning Sun Kissed – Collector’s Edition. Jump into her magical step-by-step tutorial to discover the secrets behind crafting this exquisite album.

“Hey Everyone!
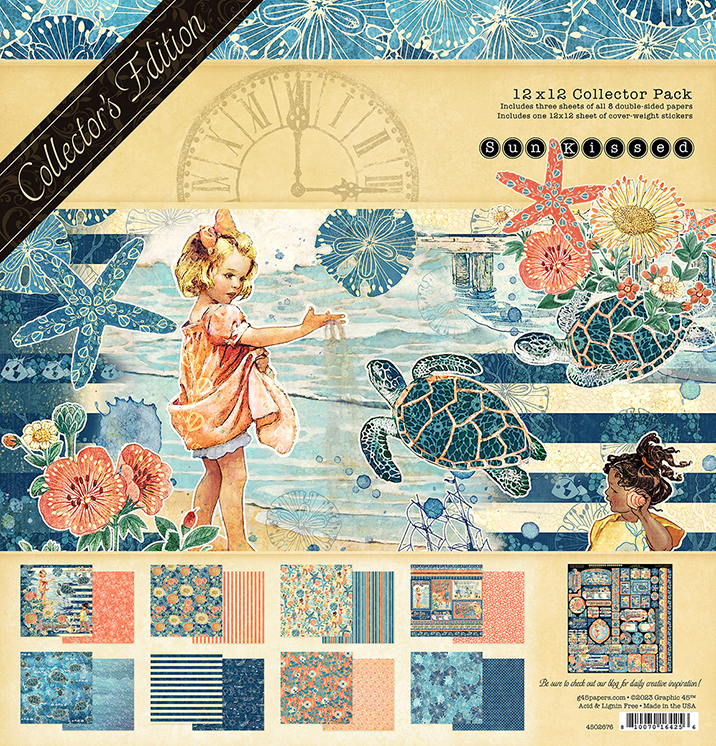
I’m thrilled to be back on the blog this month sharing this beautiful Sun Kissed Mini Album that is based off of the 2023 Vol 5 Enchanted Forest Album Kit and features the Sun Kissed Deluxe Collector’s Edition and Ivory Interactive Folio Album.
Read below as I share how I modified the mini album based off of the Volume 5 Enchanted Forest Album Kit.
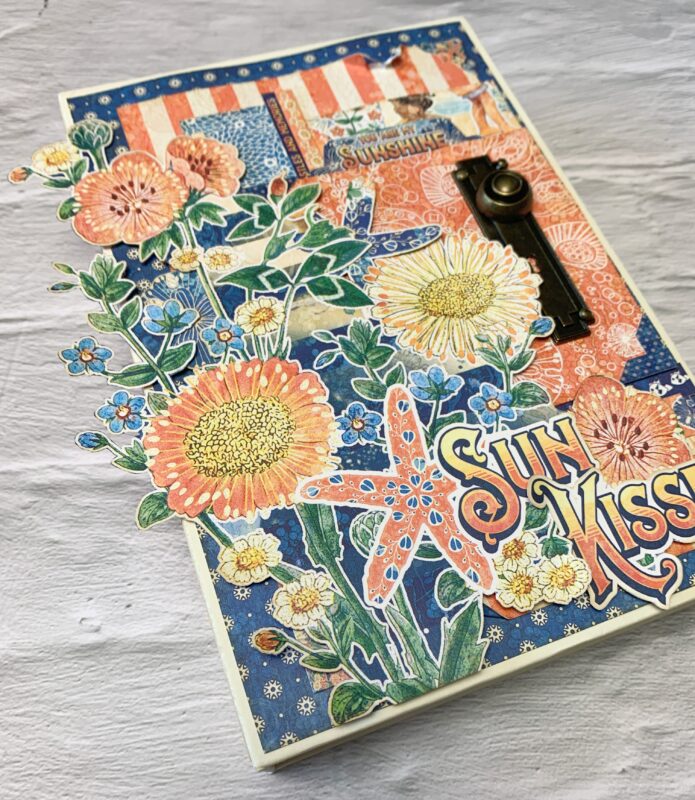
From the main page out of the Sun Kissed Deluxe Collector’s Edition, fussy cut the floral image from the left side of the page. Cut the kissed part off of the image and layered it underneath the sun word. The remaining fussy cut images, I waited until the end to see what was left for paper and fussy cut a single flower, starfish and sand dollar to layer in amongst the floral image.
Throughout the entire mini album, all the papers were inked using the Natural Linen Inkpad.
Some of the remaining border strips were layered in amongst the other patterned papers.

Add a sticker tab to the top portion of the orange shell paper. On some of the patterned papers, add photo corner stickers.

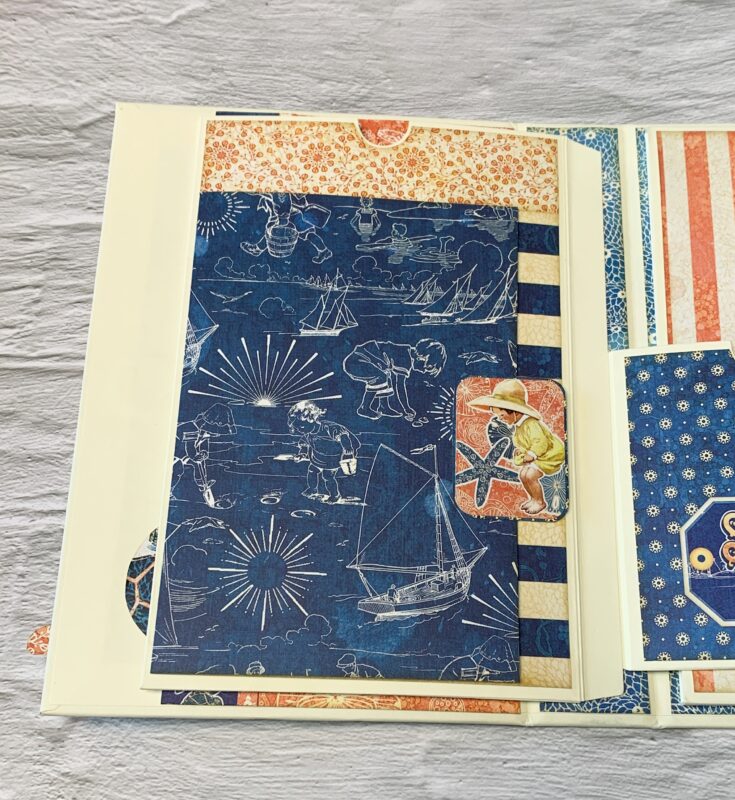
For the inside right page, I did the same flap as the instructions, but did add a 4” x 6” photo mat underneath it. I didn’t add too many layers so that the front cover could close.

On the inside left cover, I created a pocket using a border strip down the left side of the patterned paper. This allows for journaling and photos.


For the big pocket on the left side of the album, I only did one pocket at the bottom to allow for pictures and journaling. At the bottom of the pocket, I added a border strip and created a fun little element at the bottom of the pocket by backing a sticker and adhering it to the bottom right side of the pocket.

On the back side of the pocket, it is similar to the instructions. To open the flap, I backed a sticker with a piece of patterned paper and then adhered it on the flap.
For the inside of the flap, I added two photo mats that are 4” x 6”.

For the other big pocket on the right side of the album, I also only did one pocket at the bottom to allow for pictures and journaling. At the bottom of the pocket, I added a fun little element at the bottom of the pocket by backing a sticker and adding it to the bottom left edge of the pocket.

On the back side of the pocket, it is similar to the instructions. To open the flap, I backed a sticker with a piece of patterned paper and then adhered it on the flap.

For the inside of the flap, I added two photo mats that are 4” x 6”.


The first small pocket on the right side of the album just has patterned paper with a border strip on the right hand side. I created a second pocket using the Fun & Sun tag. The backside of the pocket is another piece of patterned paper with a border strip on the left side.

The other small pocket on the left side of the album has patterned paper with a border strip on the right hand side. I created a second pocket using the Fun & Sun tag.

The backside of the pocket is another piece of patterned paper with a border strip on the left side.

I switched up the middle of the album and put the Wallet Folder in it. The front of the folder has a sticker backed for opening it. I fussy cut three single flowers for the top left side of the bottom panel.

The inside panels that fold out have border strips adhered to the bottom and easy to add photos to them. The first fold out I created a pocket using a border strip on the right side of the panel.

For the panel on the right, I left it with just patterned paper, it could have another photo mat on it.

With the flaps open, the left and right flaps have border strips in between the two patterned papers. I added a photo mat on each piece that measures 4” x 6”.

I only used one of the waterfall inserts in this mini album. I adhered it on the far inside right panel. On the first waterfall, I added a 4 ¼” x 6” piece of patterned paper with a border strip adhered at the bottom of the patterned paper.

Flip the first waterfall flap over, add a piece of patterned paper on the backside that measures 4 ¼” x 6”. Add a border strip to the bottom of the patterned paper. On the second waterfall, cut a piece of patterned paper that measures 6” x 9”, score at 4 ½”. Adhere the scored paper to the waterfall.

Cut two pieces of patterned paper that measure 4” x 5 ¾”. Adhere them to the scored patterned paper.

Flip the second waterfall over and add a 4 ¼” x 6” piece of patterned paper. On the third waterfall, add a piece of patterned paper on the backside that measures 4 ¼” x 6”. Add a border strip to the bottom of the patterned paper.

Flip the third waterfall over and add a 4 ¼” x 6” piece of patterned paper and add a border strip. On the fourth waterfall, cut a piece of patterned paper that measures 6” x 9”, score at 4 ½”. Adhere the scored paper to the waterfall.

Cut two pieces of patterned paper that measure 3 ¾” x 5 ¾”. Adhere them to the scored patterned paper.

Flip the fourth waterfall over and add a 4 ¼” x 6” piece of patterned paper. On the fifth waterfall, add a piece of patterned paper on the backside that measures 4 ¼” x 6”. Add a border strip to the bottom of the patterned paper. Back three of the circle stickers on patterned papers. Adhere a sticker circle to each of the waterfall flaps.

For the backside of the mini album, I just adhered patterned paper to the back and sides of the mini album.


Sun Kissed Deluxe Collector’s Edition
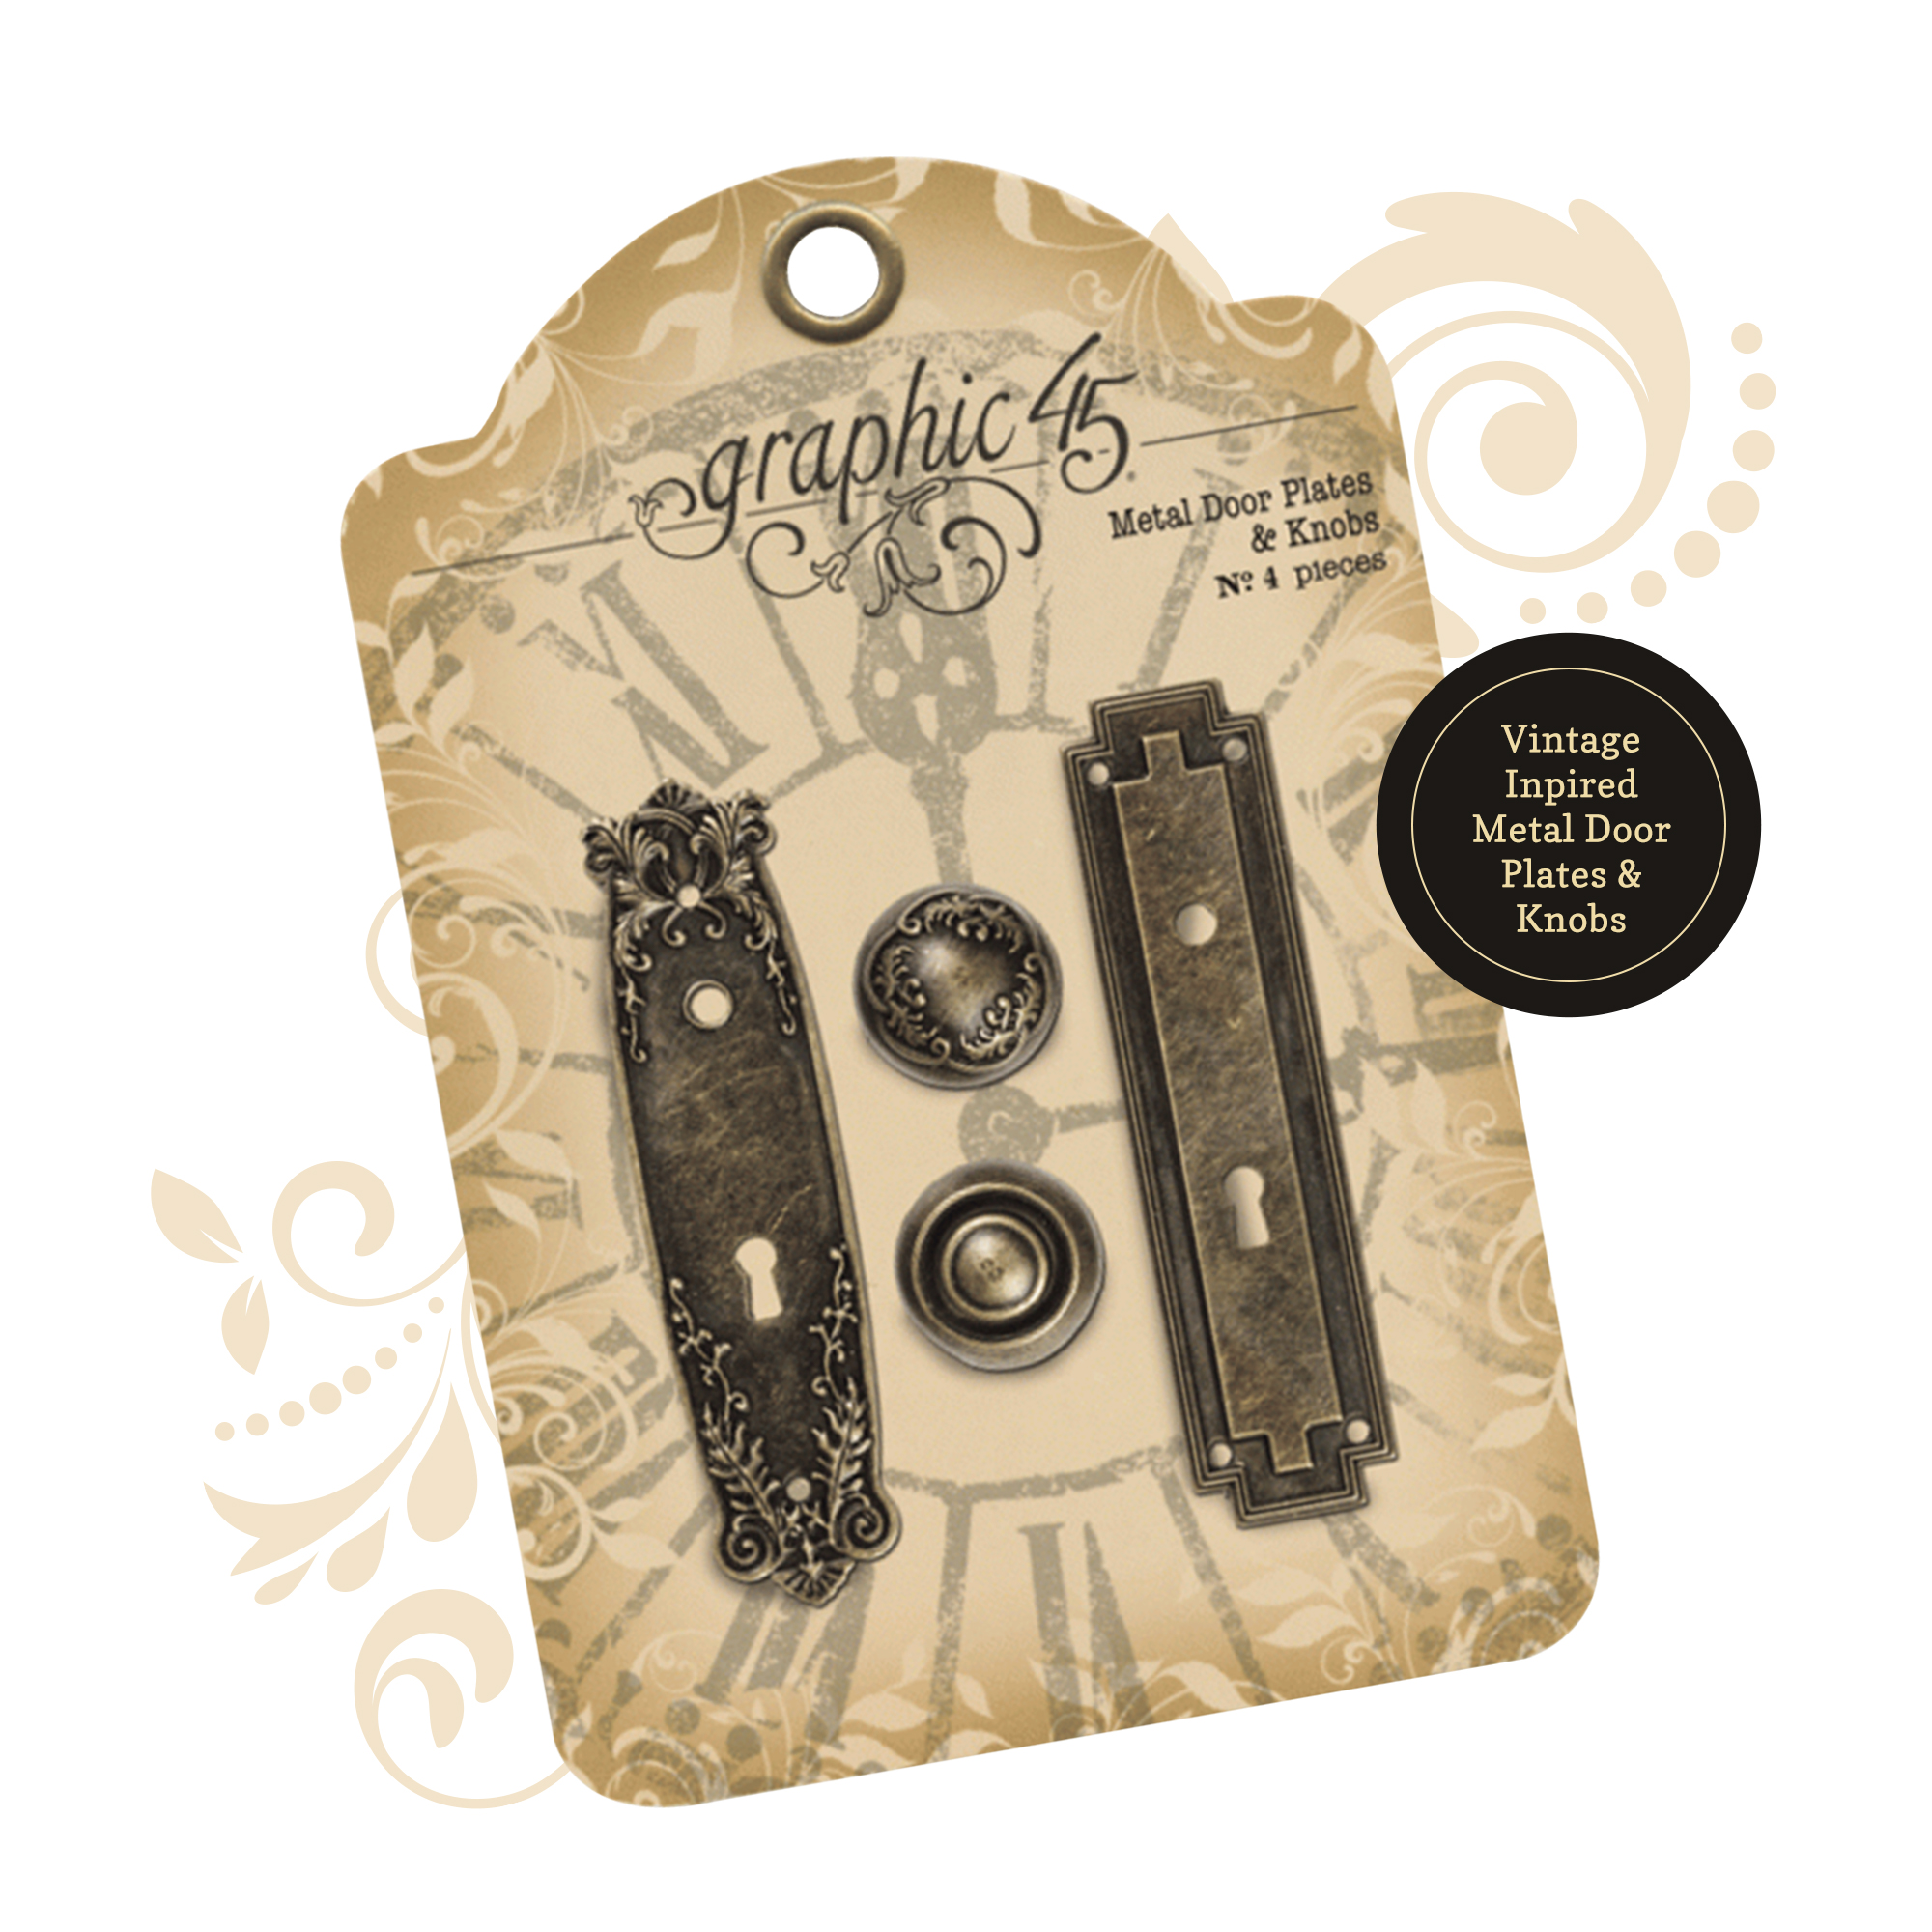
Antique Brass Metal Door Plates & Knobs
Thank you so much for joining me today and I hope that my mini album has inspired you to adapt past Album Kits.” ~Katelyn Spencer
Interactive Folio Album
Happy Papercrafting!


One Response
Sun Kissed is a big favorite paper collection…love all the images! Loved seeing each and every element in this project! Well done!