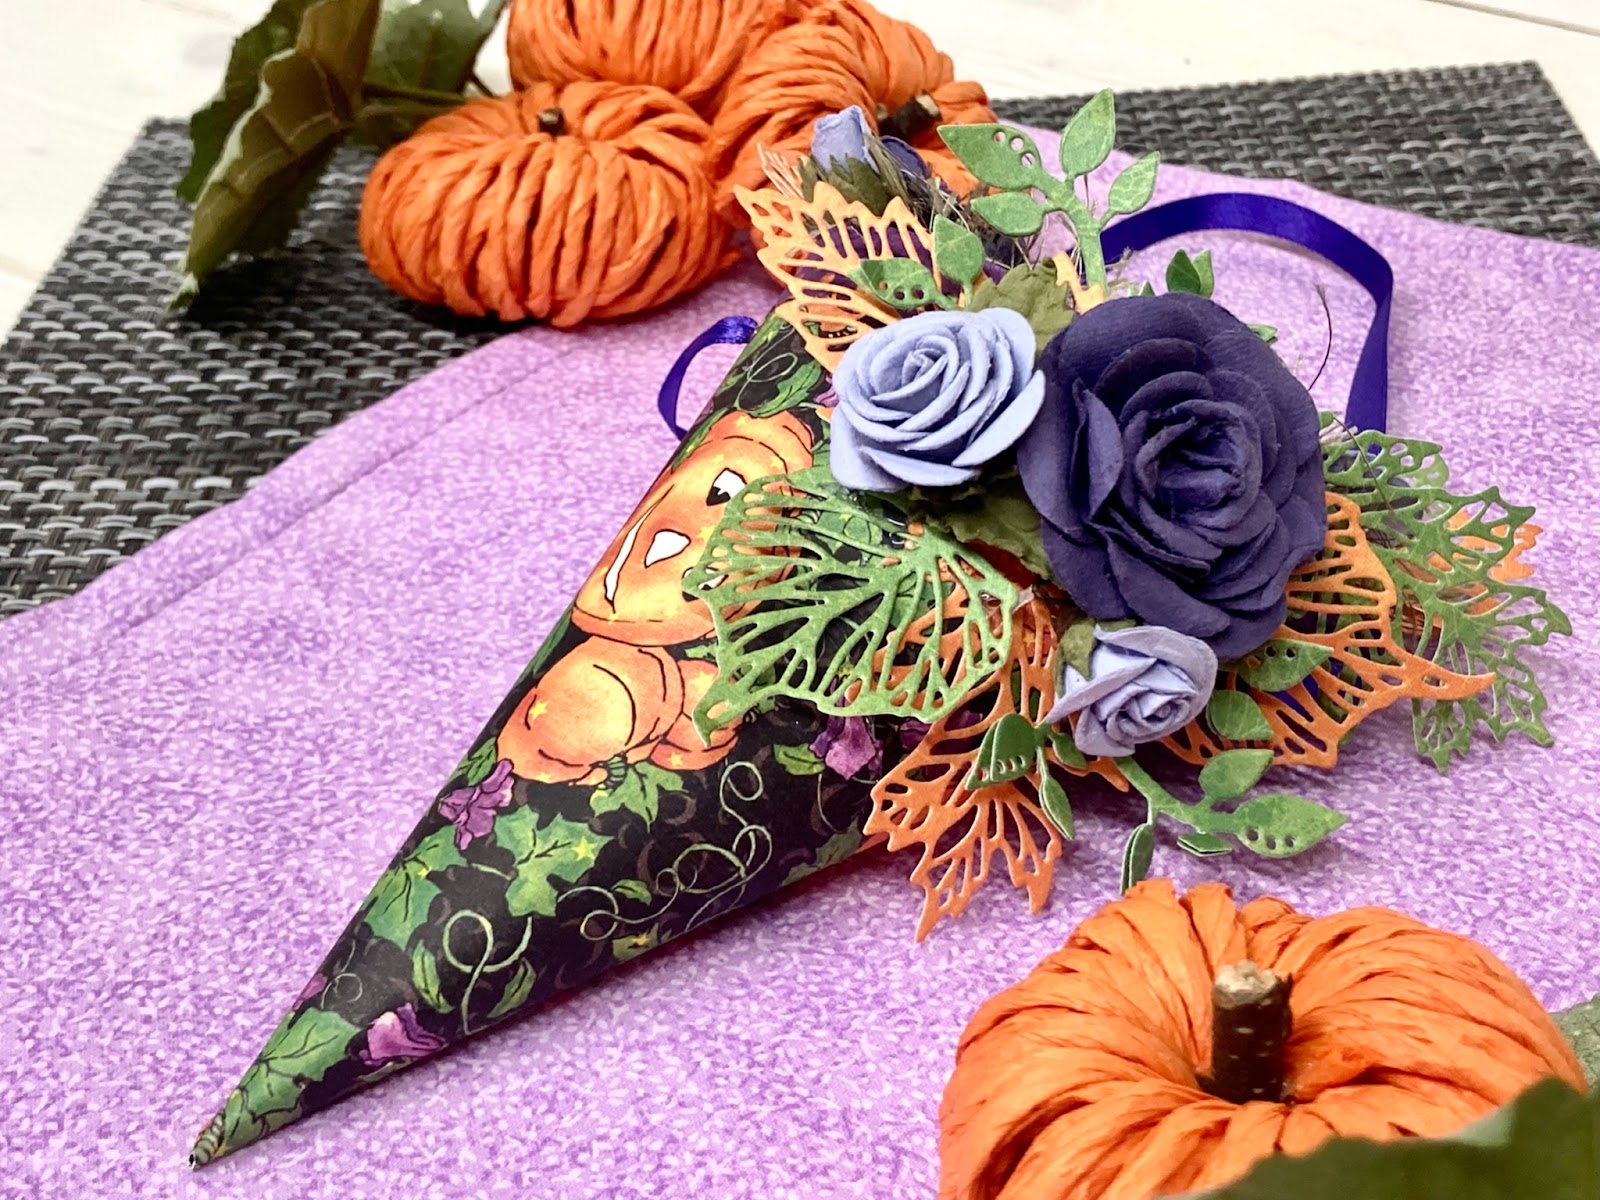
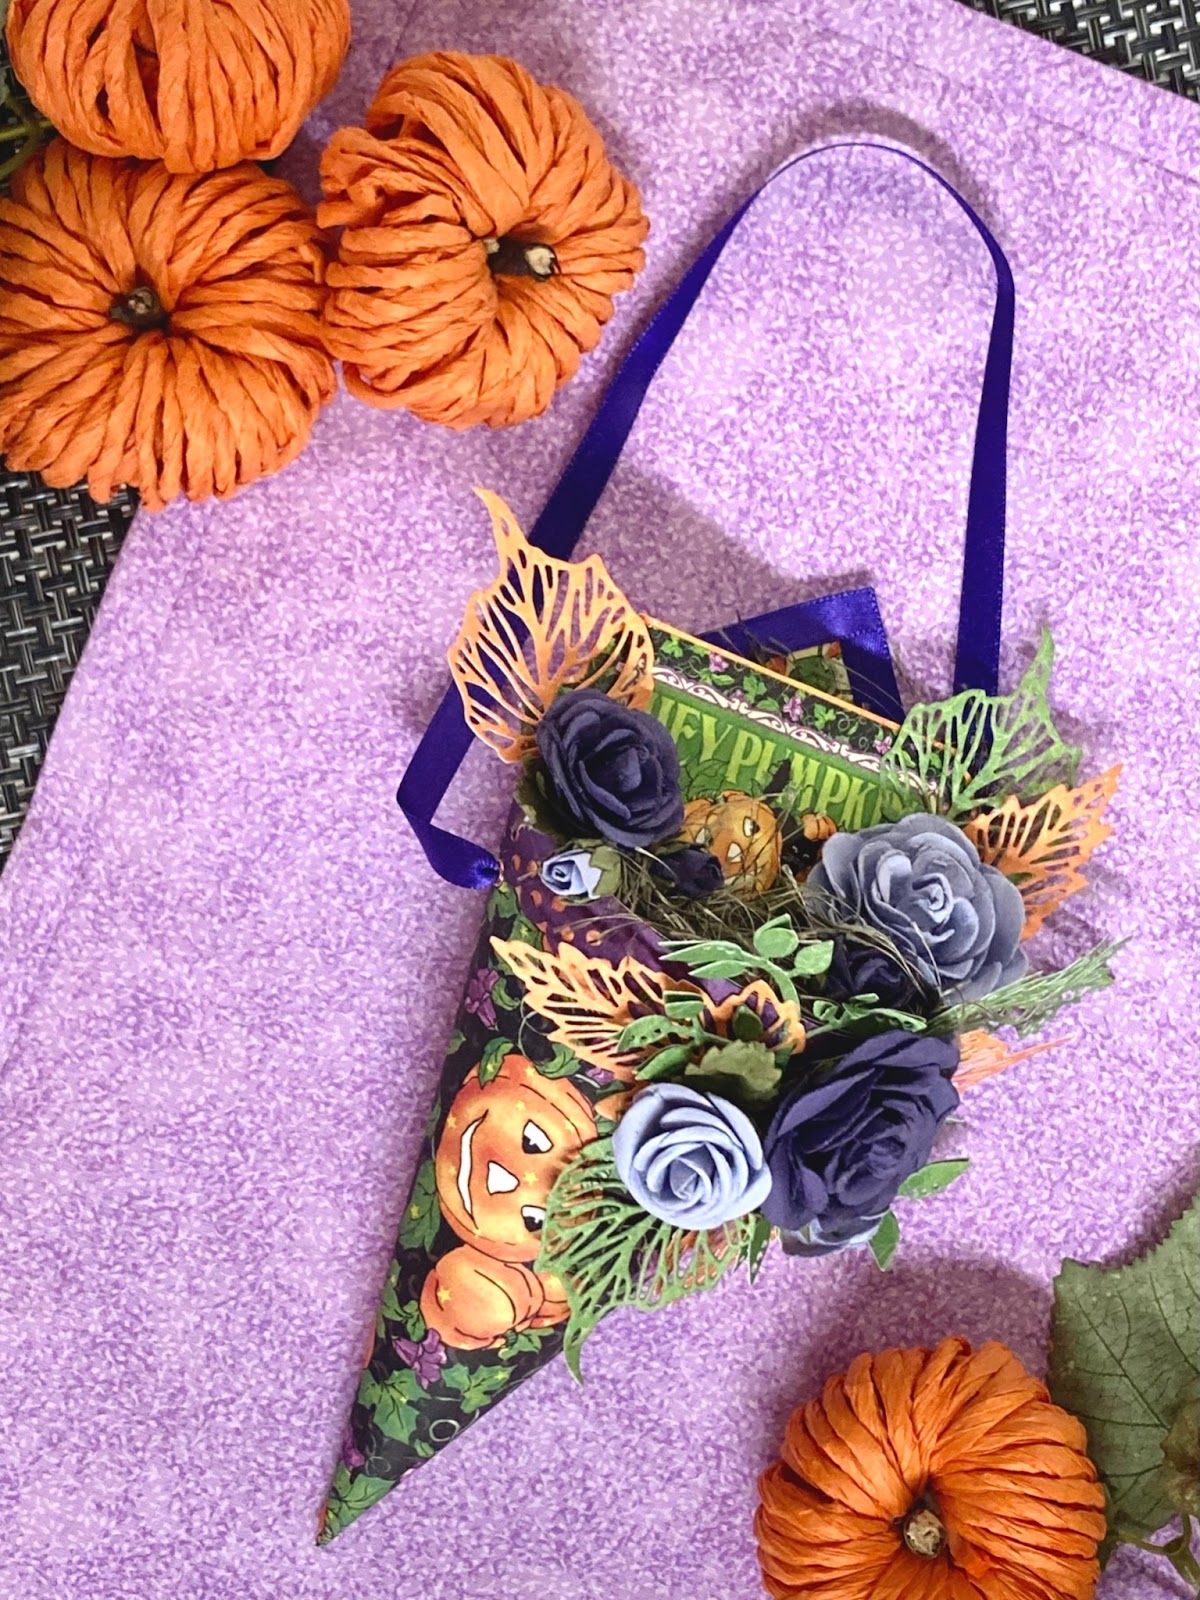
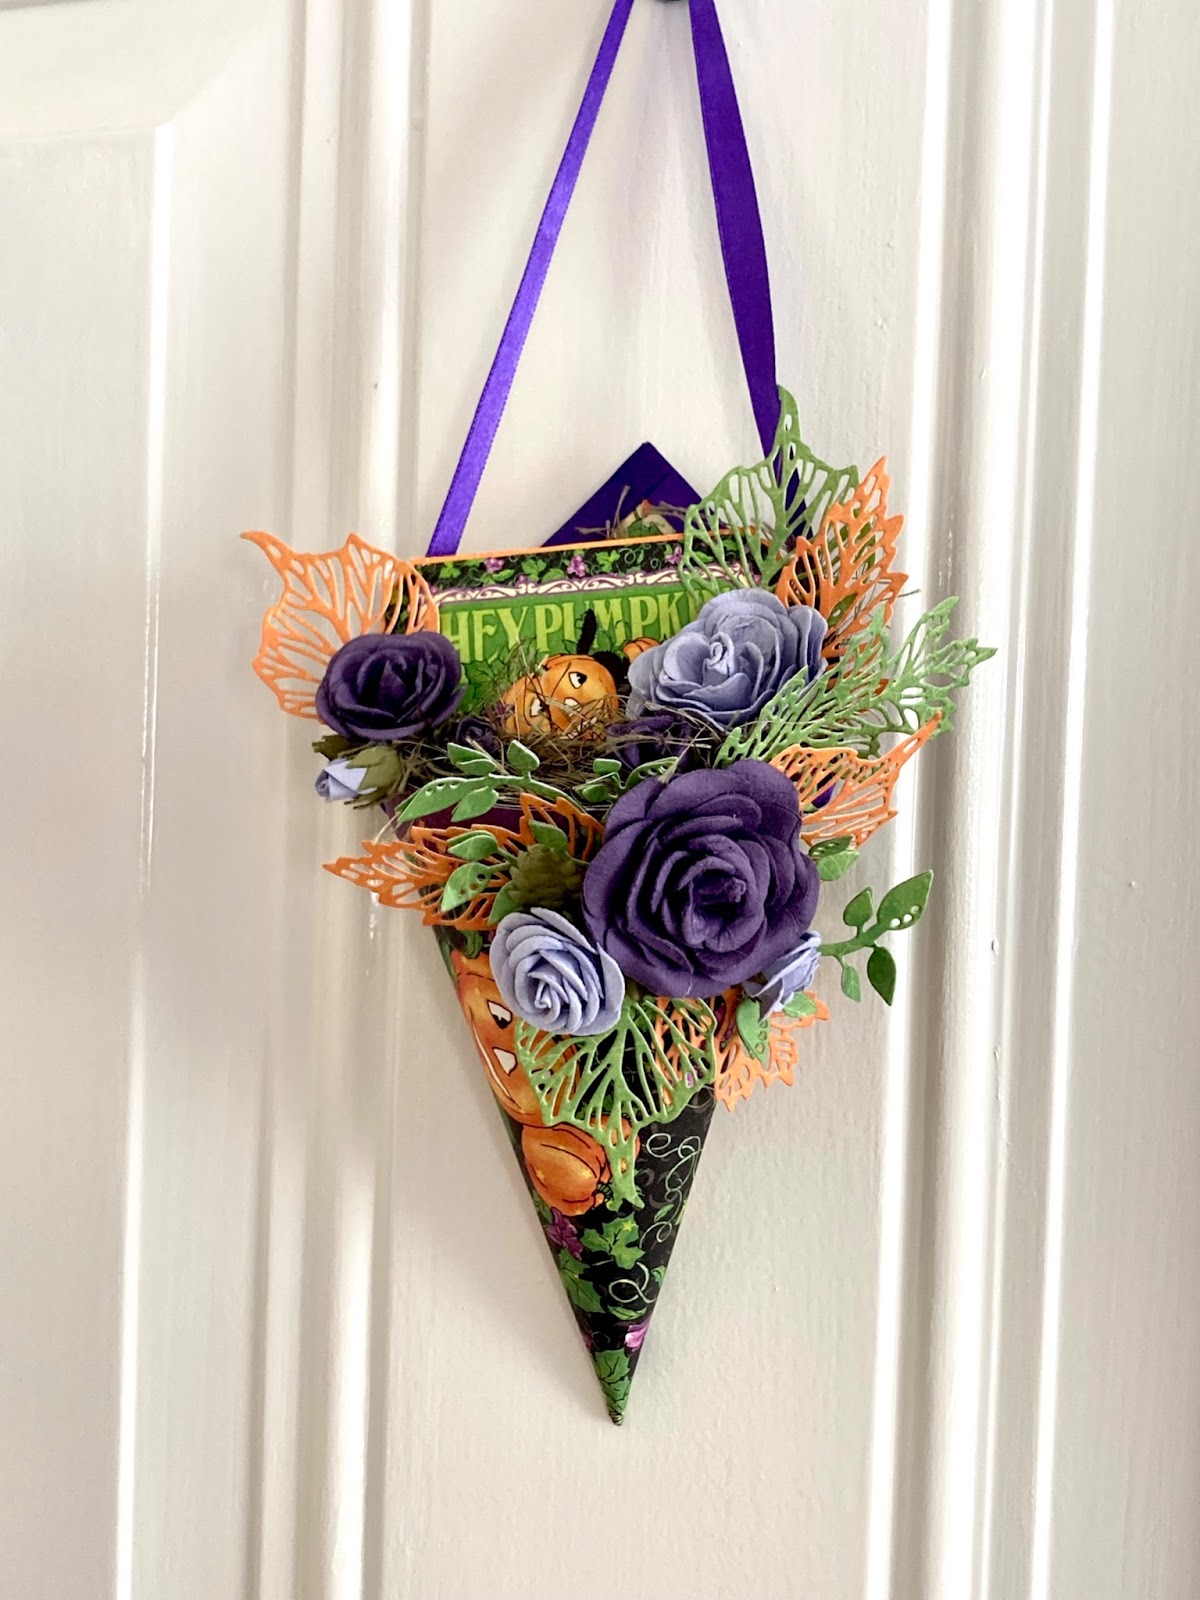
We are celebrating the changing of the seasons with a charming fall home decor piece by Graphic 45 Brand Ambassador, Kristine Woods. Kristine has fashioned a gorgeous Tussie Mussie out of our Charmed paper collection. We love this paper cone not only would look great as a decoration, but also as a party favor filled with your favorite Halloween treats. Watch the video tutorial and create along with us! When you are done be sure to enter our October #G45Fall Challenge by uploading a photo of your project to our Graphic 45 – Official Community Page.
“Hi crafty friends. I just love fall, with all of the changing colors and cooler temperatures. So I am very excited to be sharing my #G45FALL home decor project with you today. The Charmed collection pack has several adorable prints that are perfect for a fall theme.
For my project, I am making a cute little tussie mussie. The cone-shaped base is made from half a 12×12 piece of paper, so you can make two at once! If you’re looking to make cute treat holders for Halloween, this is the project for you!
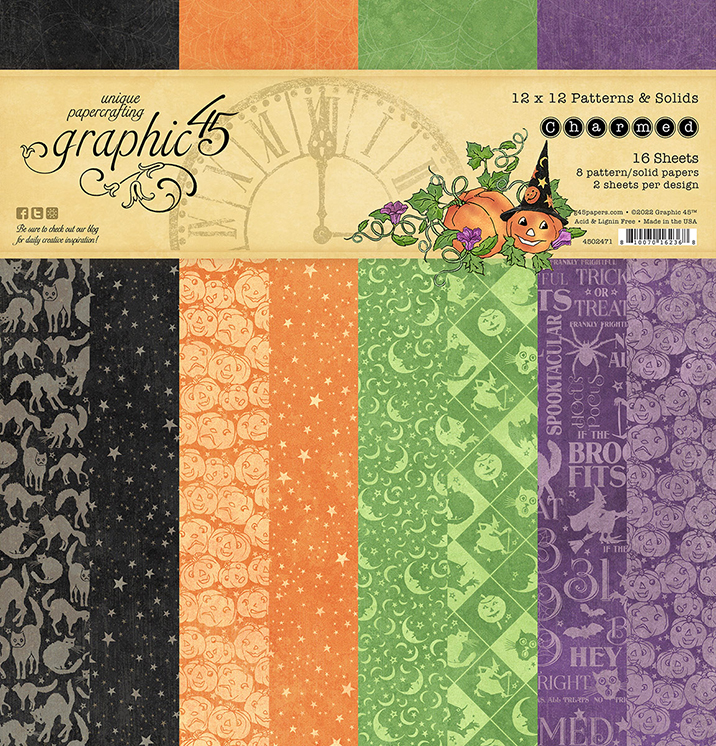
Charmed 12 x 12 collection pack
Charmed Patterns & Solids pack
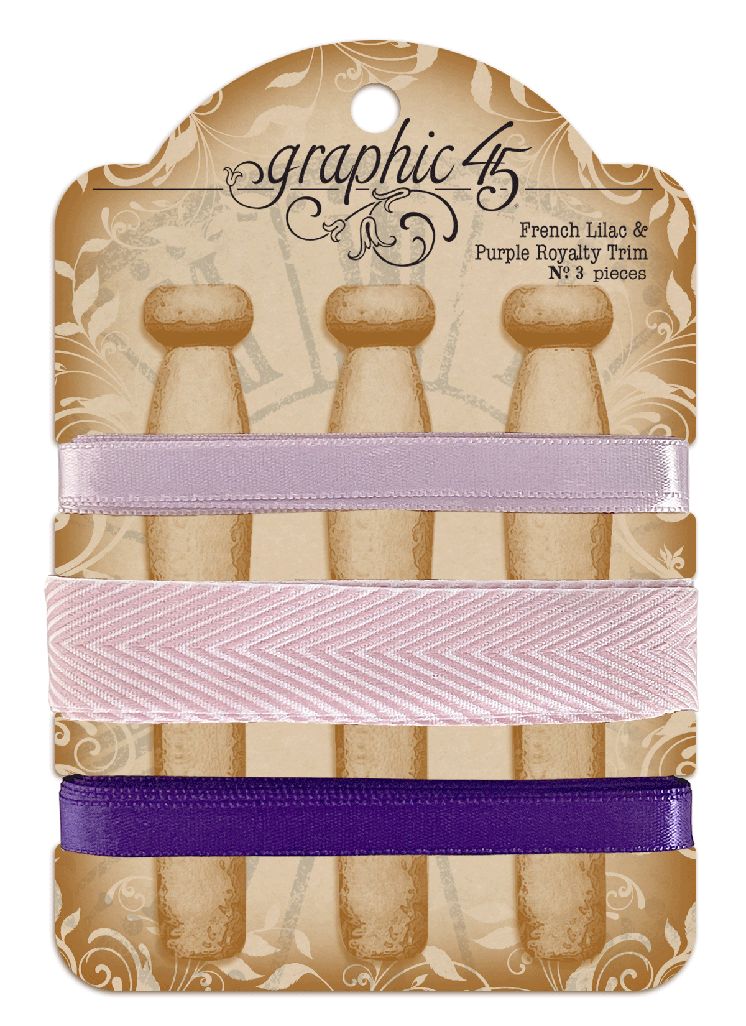
French Lilac and Royal Purple Trim
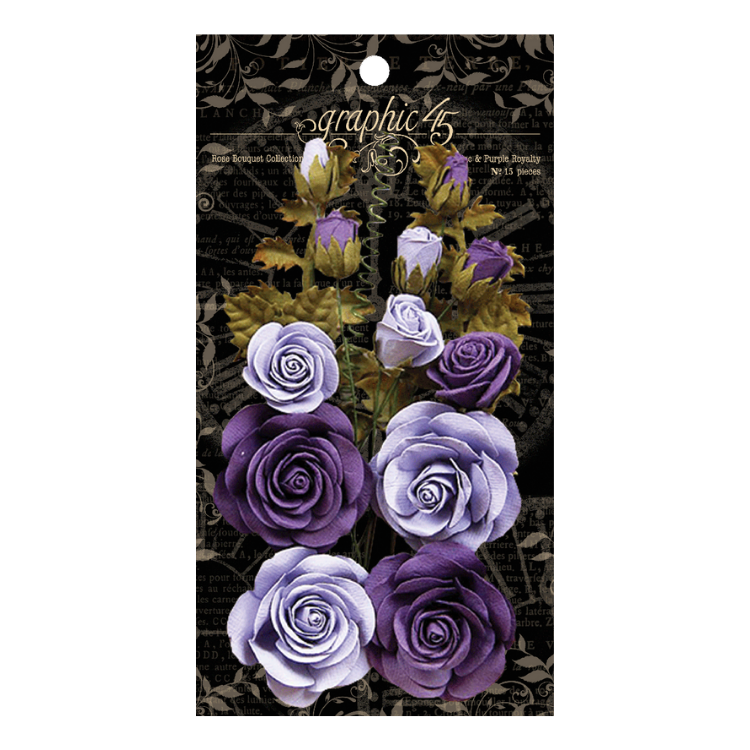
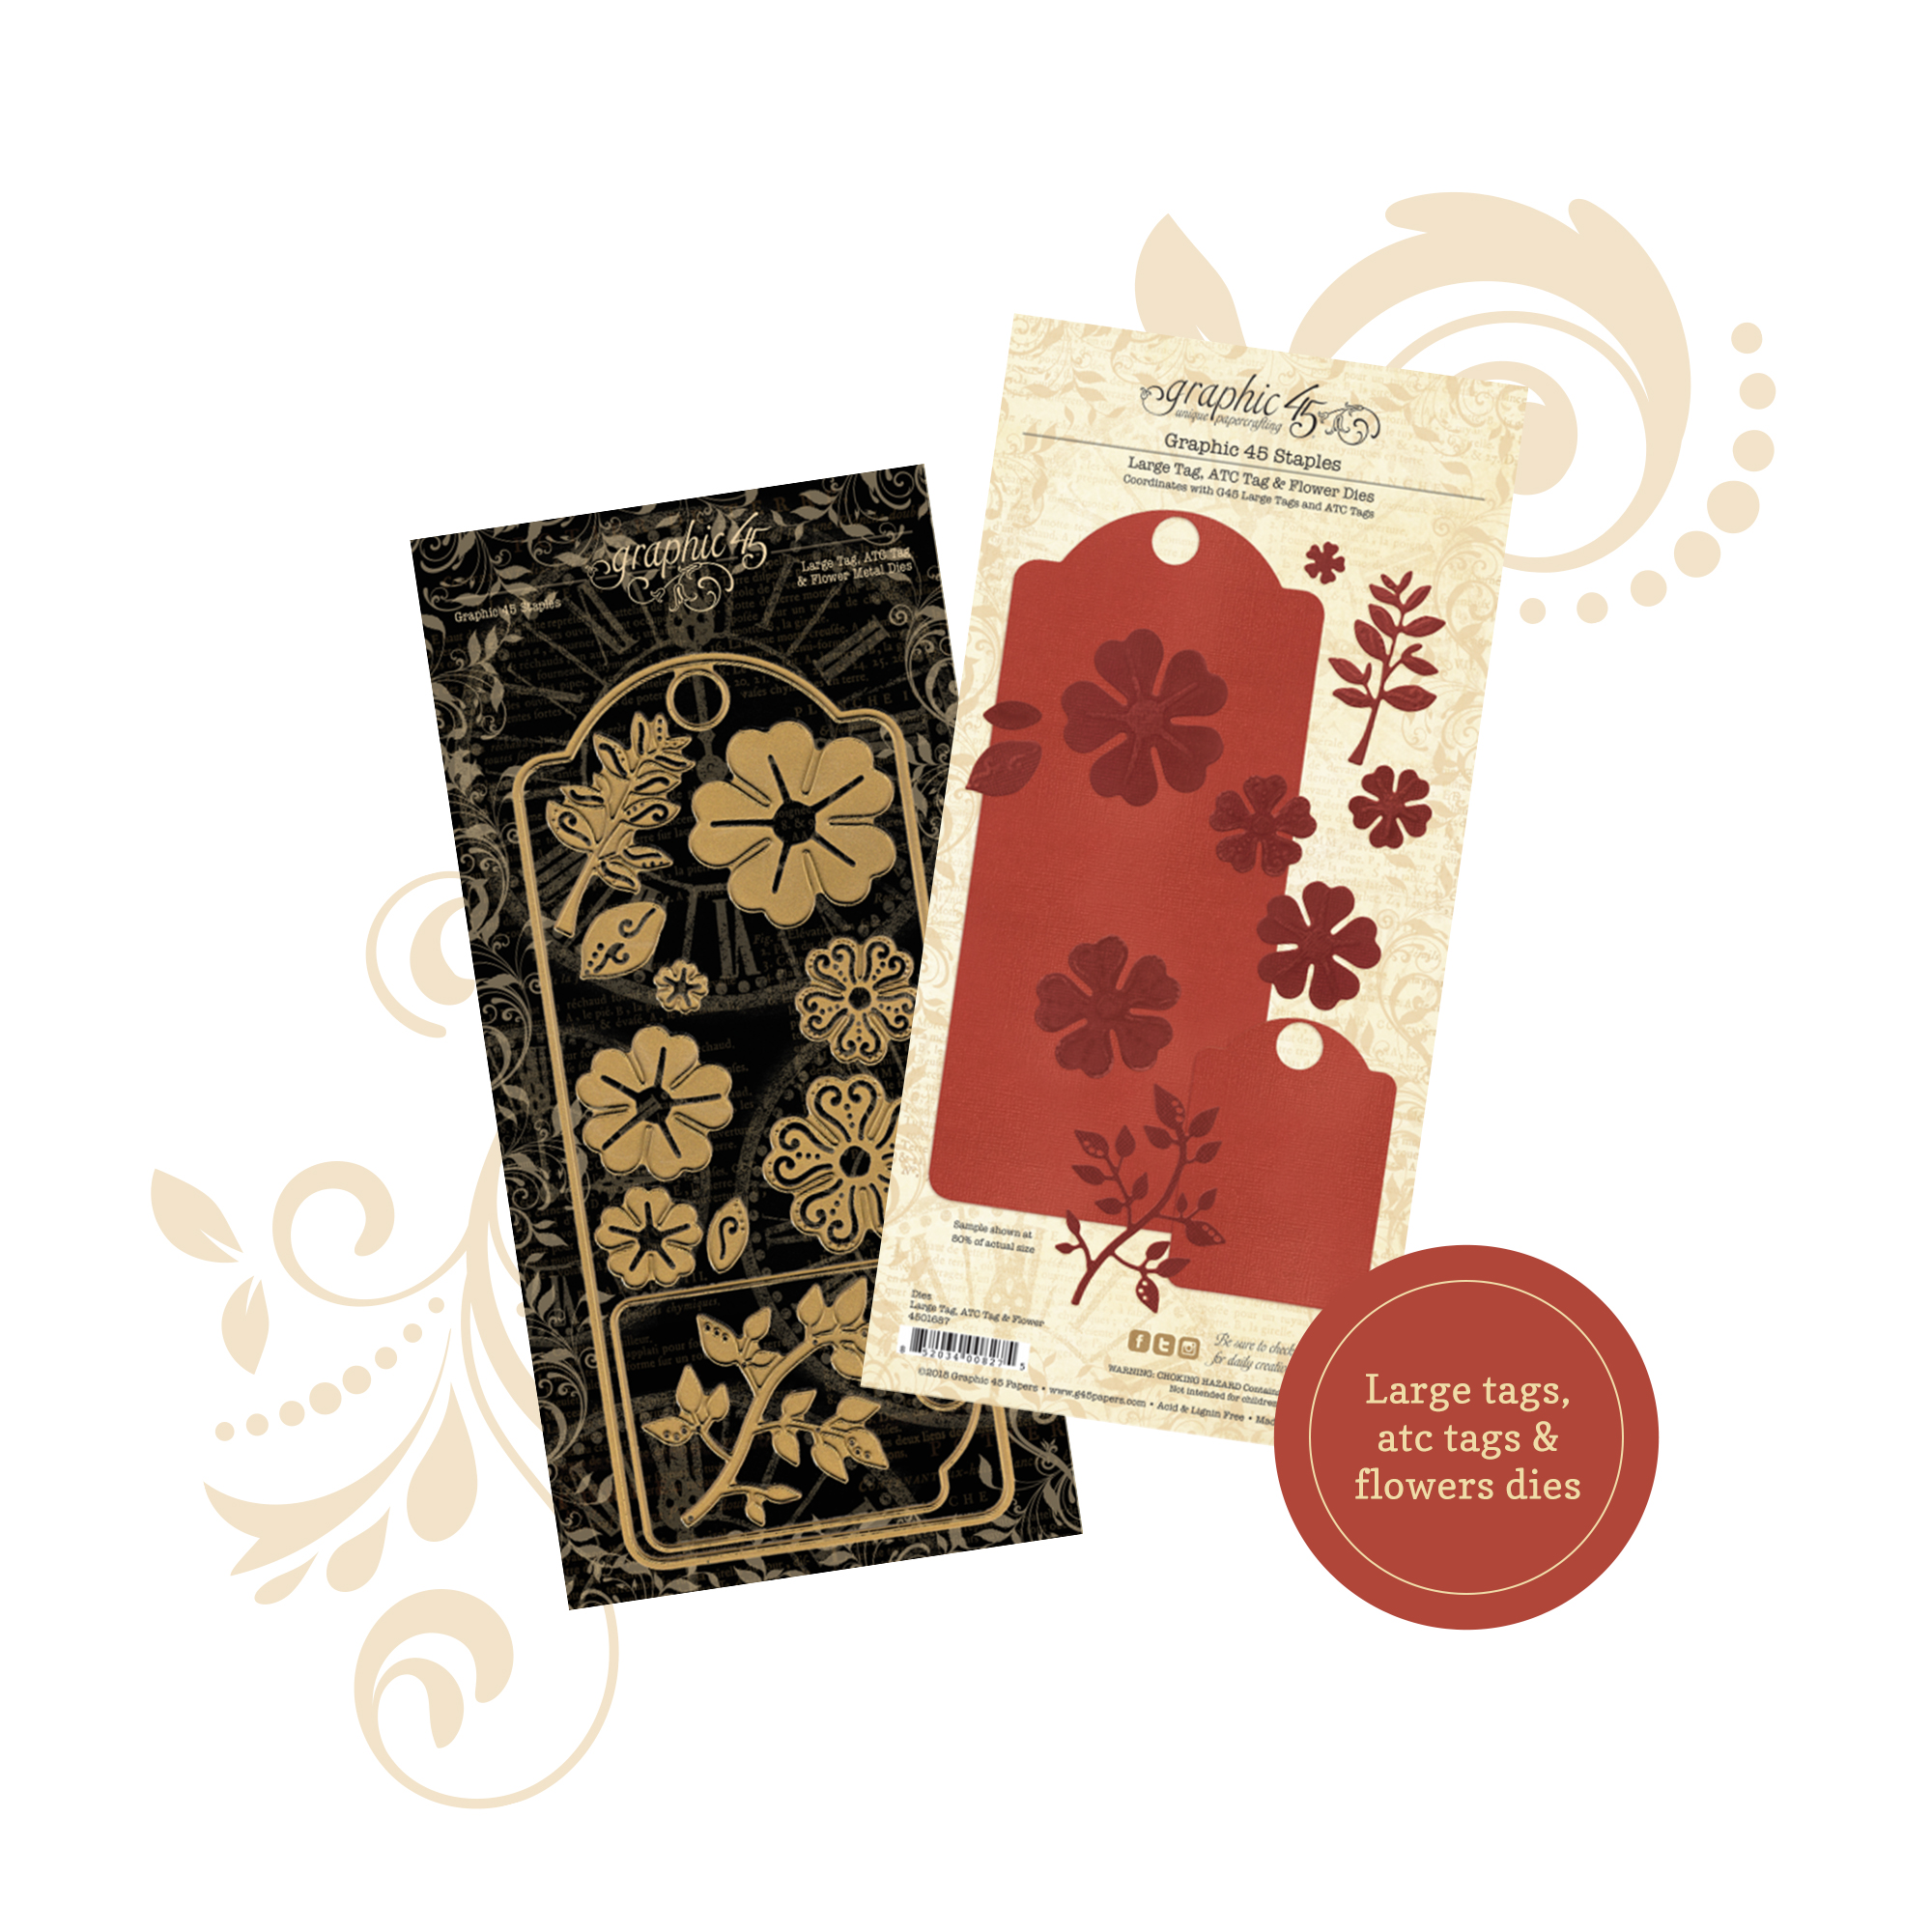
Large Tag and Flowers Metal Die Set
Leaf dies
Green fun fur (or similar)
Eyelets (2) and setting tool
Basic craft supplies: glue, craft knife, ruler, pencil, scissors, hot glue gun, double sided tape
Optional: decorative border punch
In the full video tutorial, I will show you how to cut the paper to create the tussie mussie cone. The Graphic 45 trim will be used to line the inside edge and also to create a strap to hang the project.
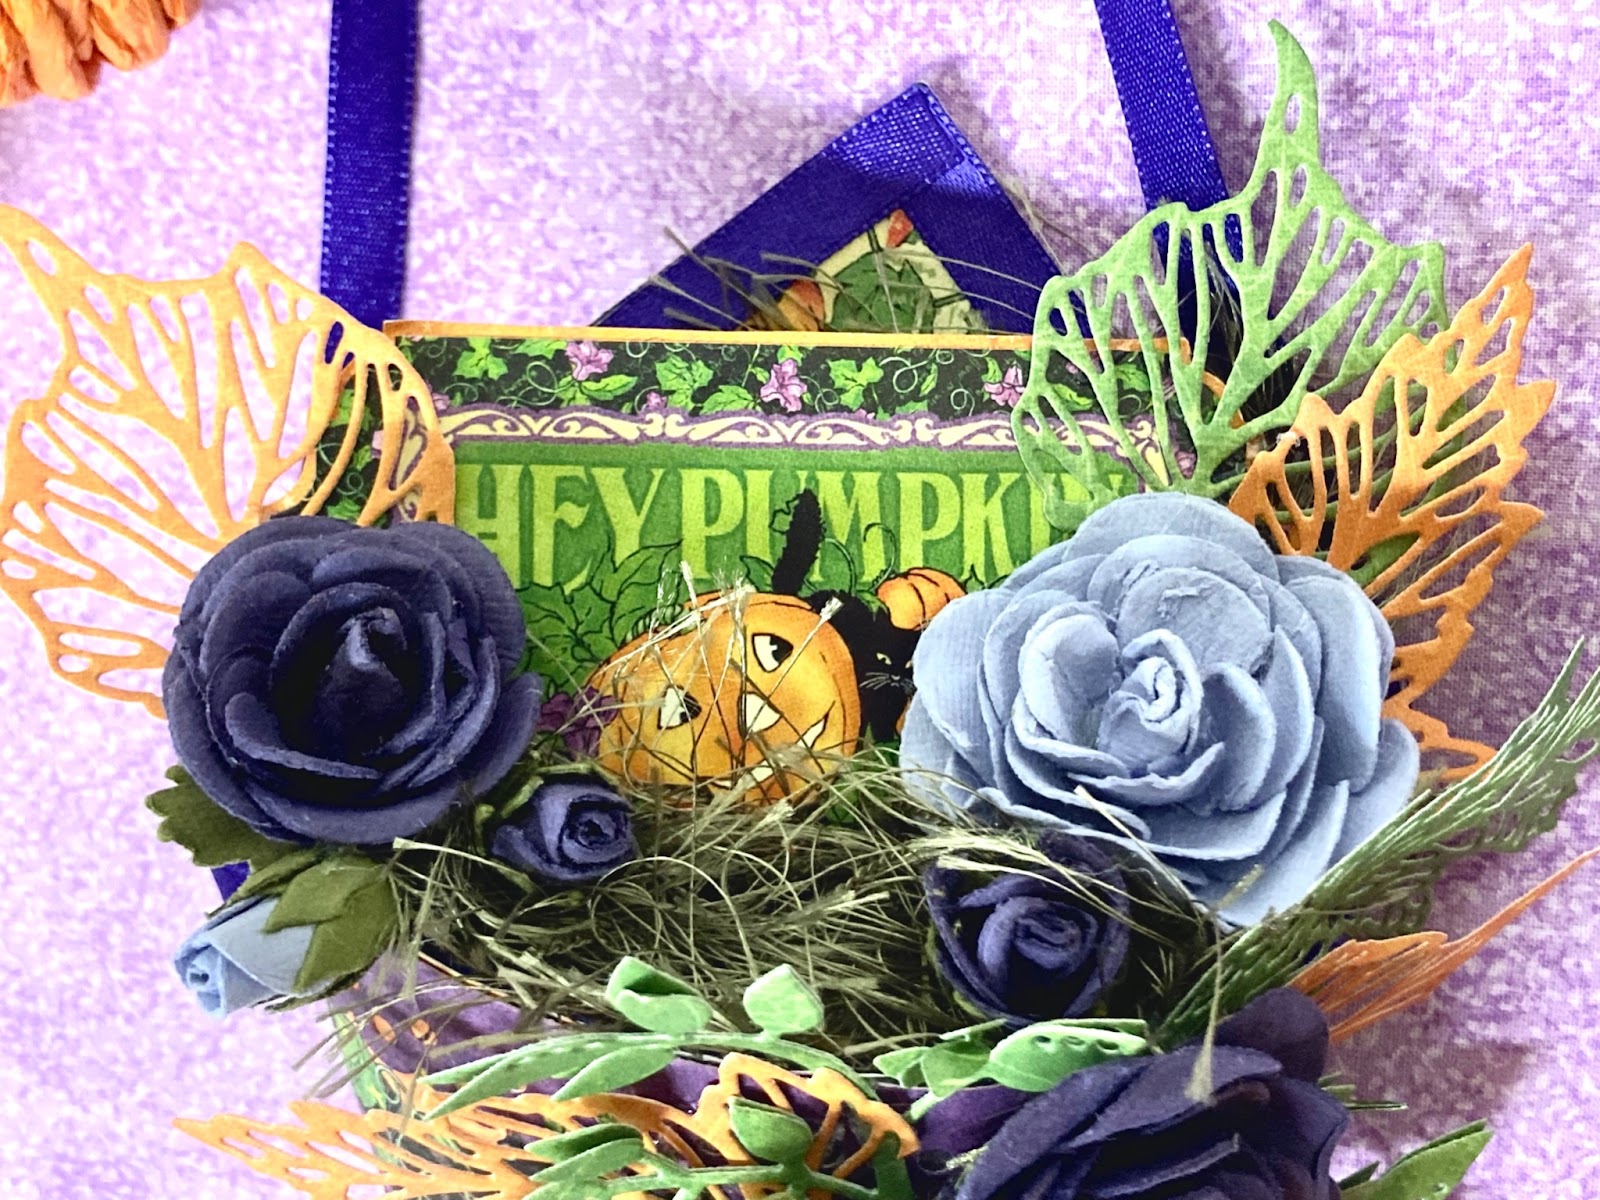
Once the cone is made, we will begin layering the Graphic 45 flowers and die cut leaves onto the front and top. This is where you can personalize your project. Don’t hesitate to add lots of layers and other embellishments to your tussie mussie. Or, leave it simple!
TIP: layering two die cut leaves on top of each other can give them extra support when they are used on a dimensional project.
Once finished, don’t forget to hang your tussie mussie where everyone can enjoy it!” ~Kristine Woods
Tussie Mussie Tutorial – Charmed – by Kristine Woods
Want even more Graphic 45? Sign up for our newsletter here.


One Response
This is so cute, and such a great idea. I LOVE that it’s a simple project that I can make. I see so many amazingly complicated projects and really admire them, but I don’t make them myself. They are intimidating. But this is something I can accomplish, and I can make several of them for friends and family. THANK YOU for your great idea! I just love it.