We hope to bring a burst of creativity as we delve into the world of interactive slider tags with the talented Gina Long. Prepare to be inspired by the magic of crafting as Gina demonstrates the art of crafting with finesse using Graphic 45’s Let’s Get Artsy collection, Metal Dies, and G45 Tags. In this video Tutorial, Gina unveils the secrets behind crafting three captivating square slider tags that are sure to elevate your papercrafting game. From selecting the perfect paper to mastering the intricacies of slider mechanisms, Gina’s expertise shines through every step of the process. So, grab your supplies, unleash your imagination, and let’s embark on a papercrafting journey like no other. Start creating today with Graphic 45!
 |  |
 |  |
 |  |
“Hello everyone!
I’m So happy to be back on the blog this month.
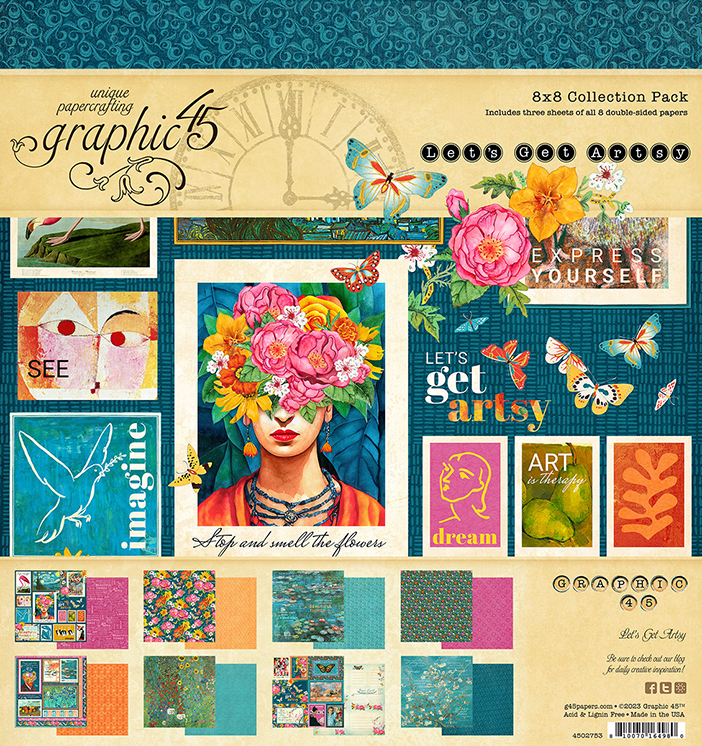
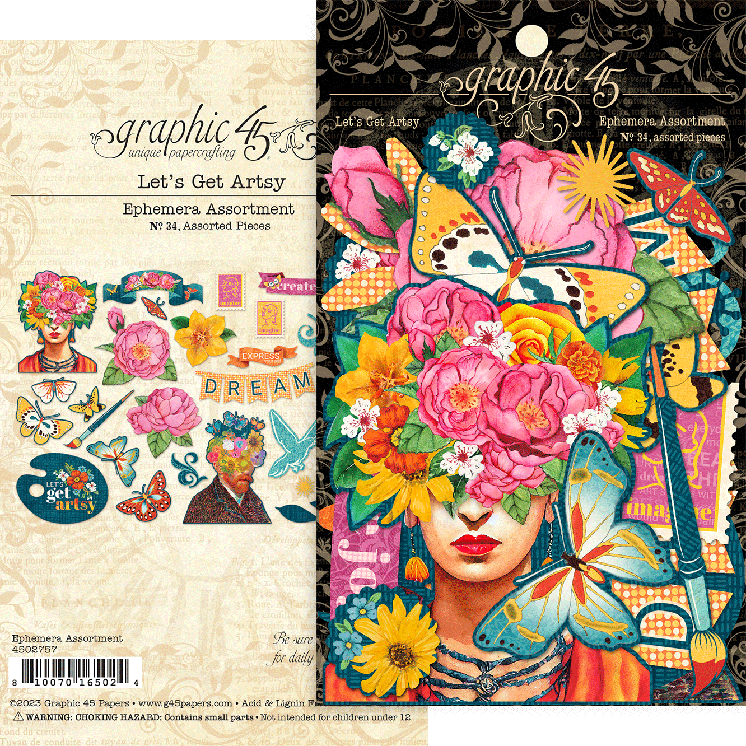
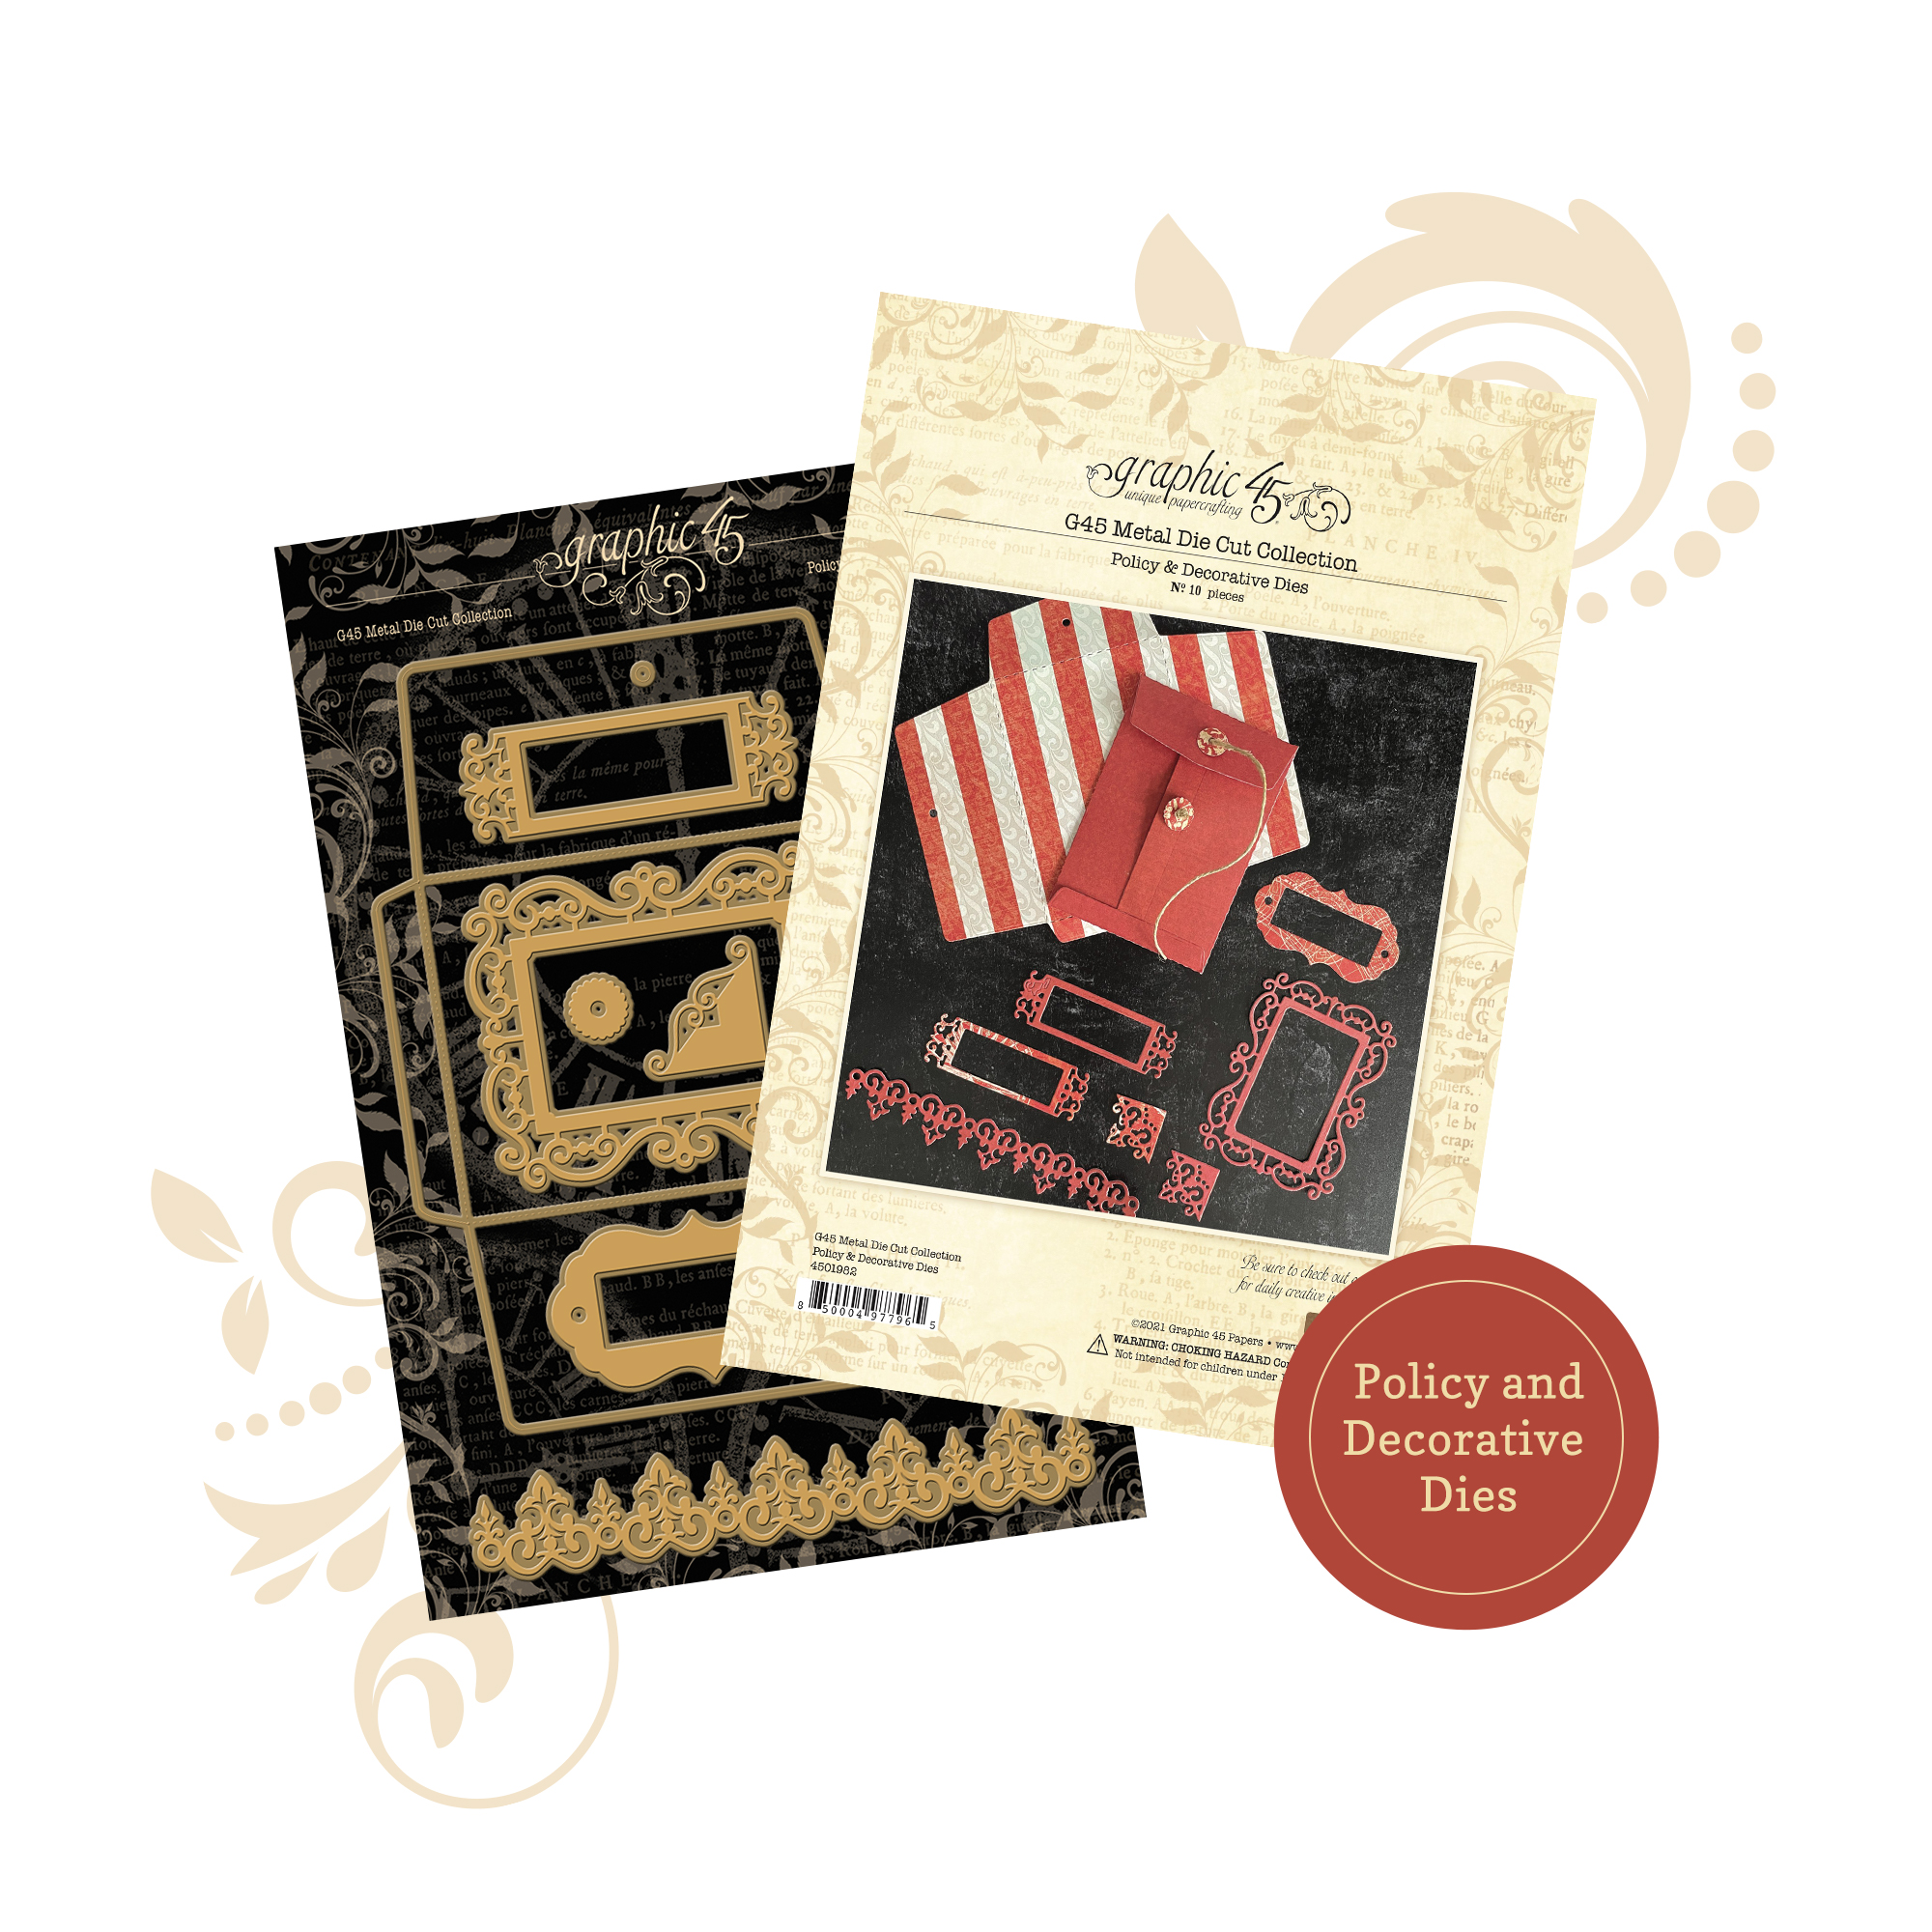
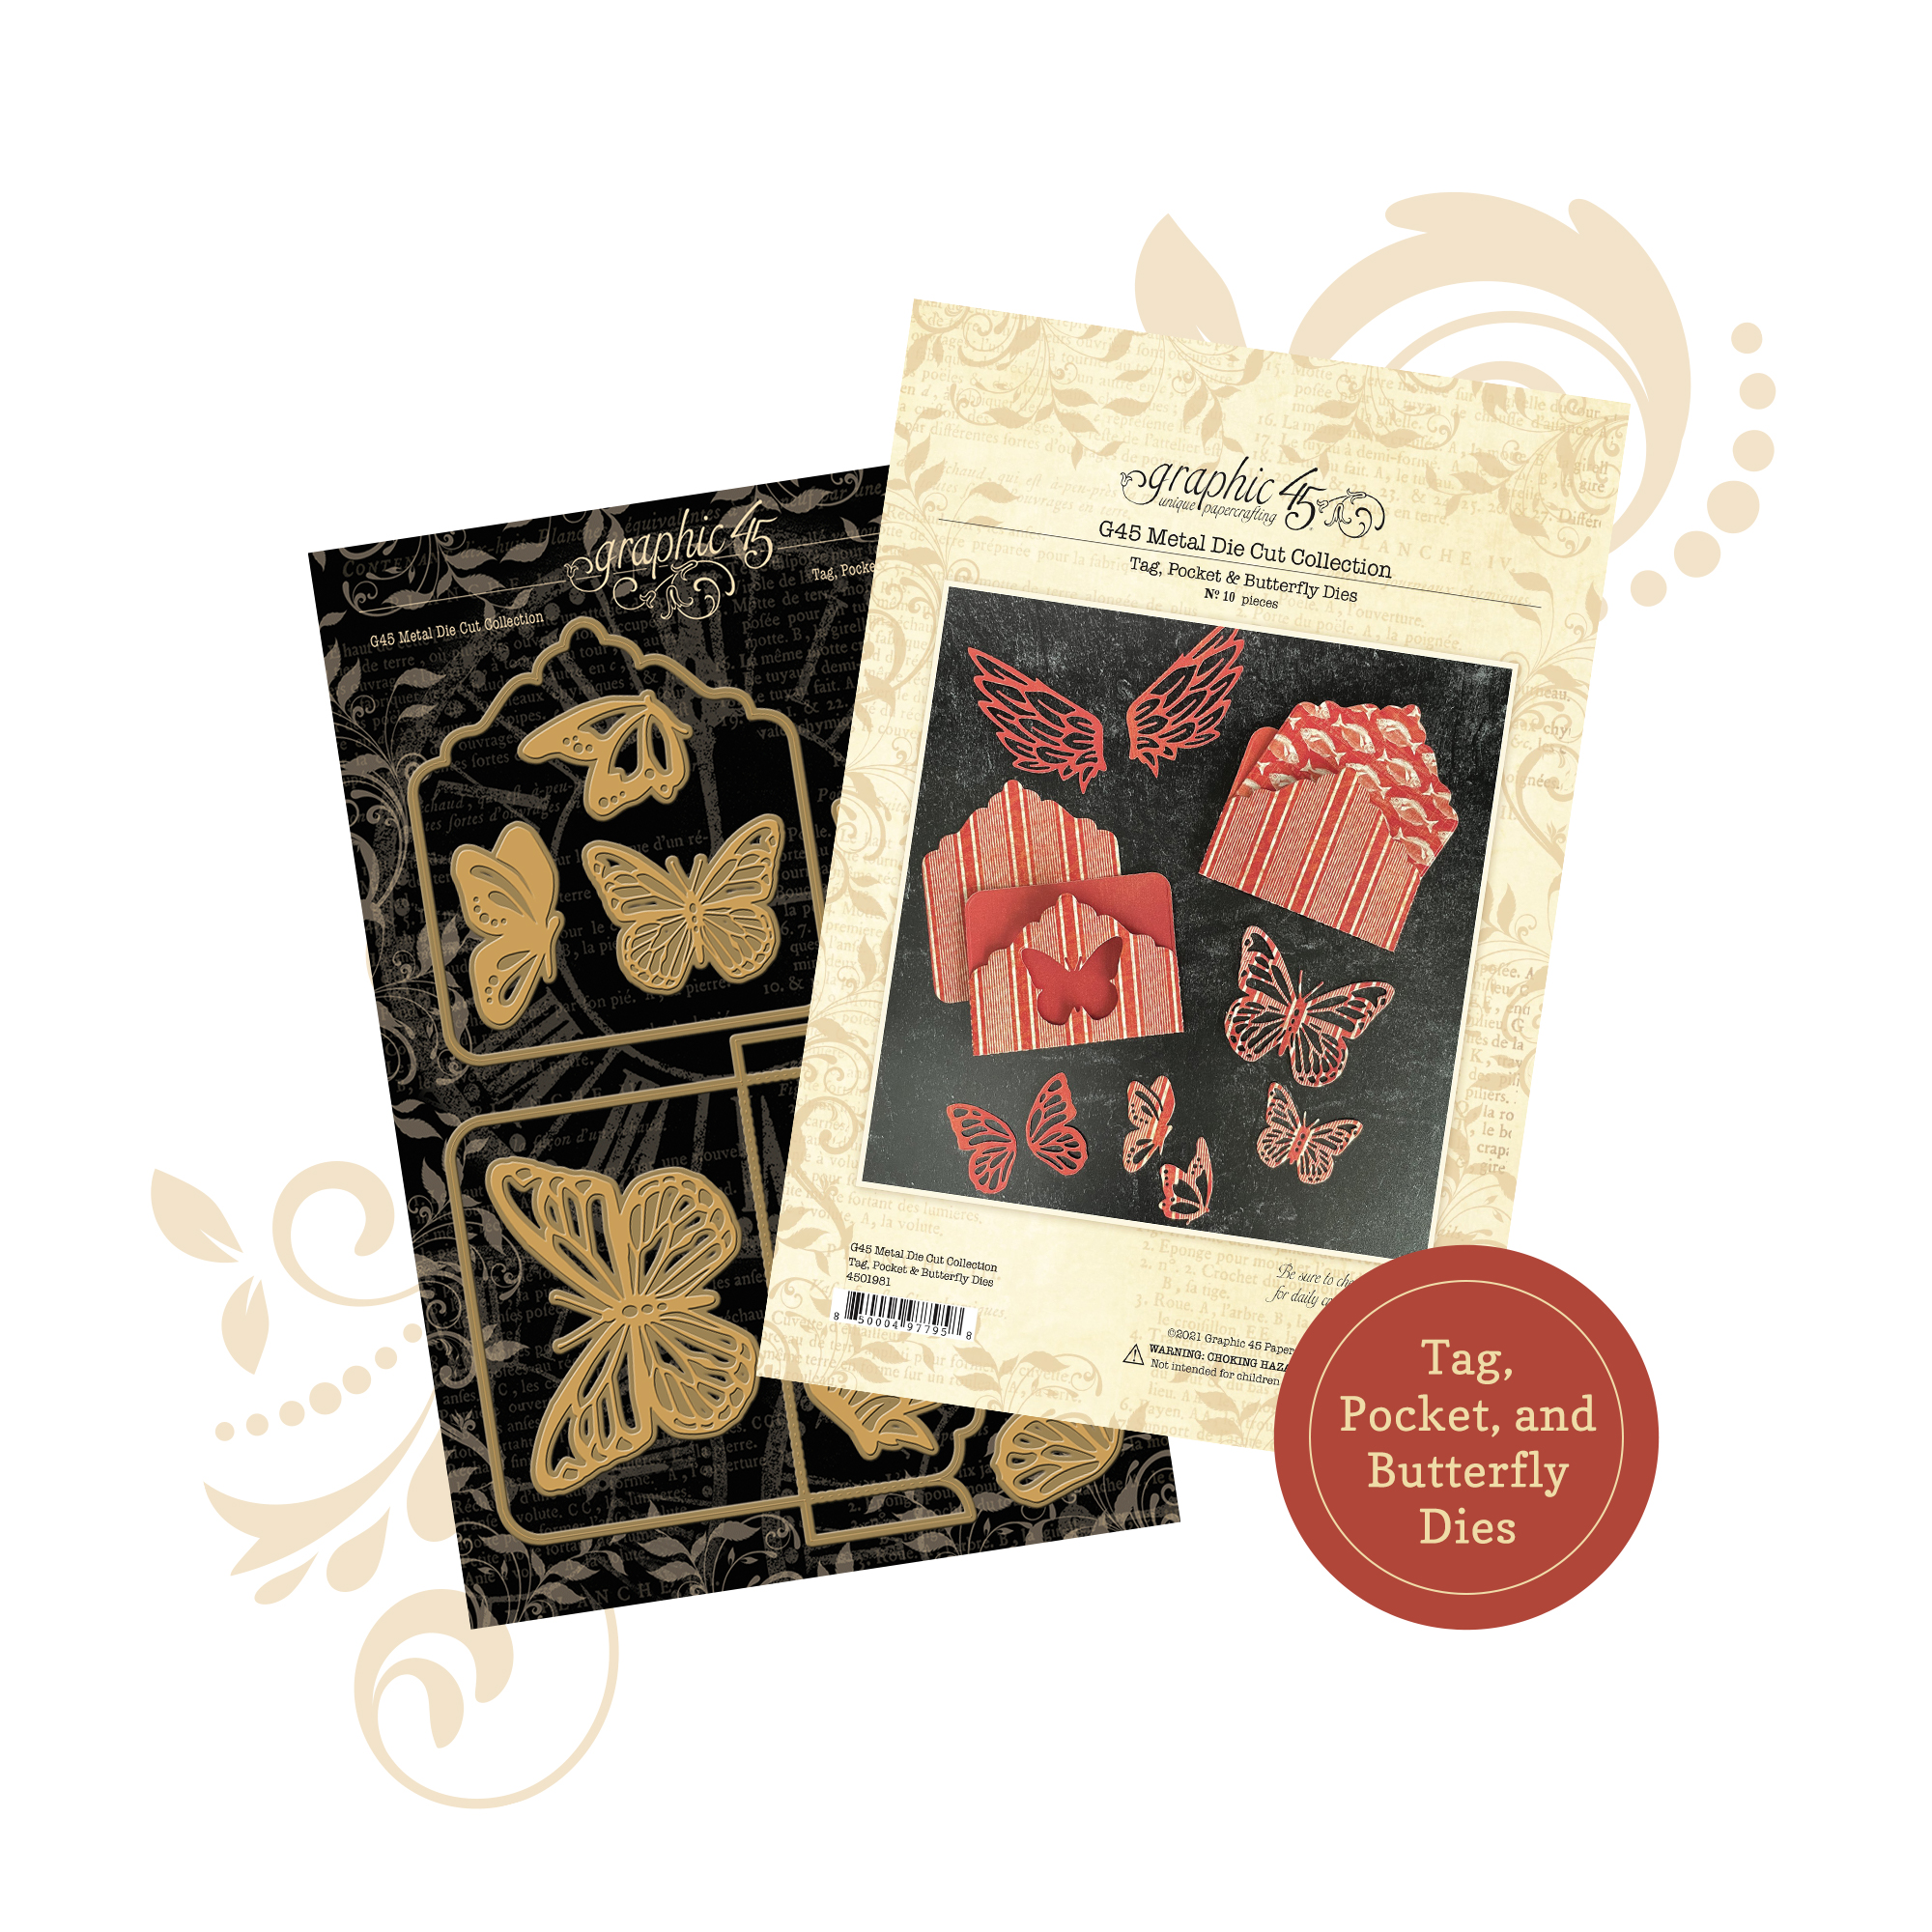
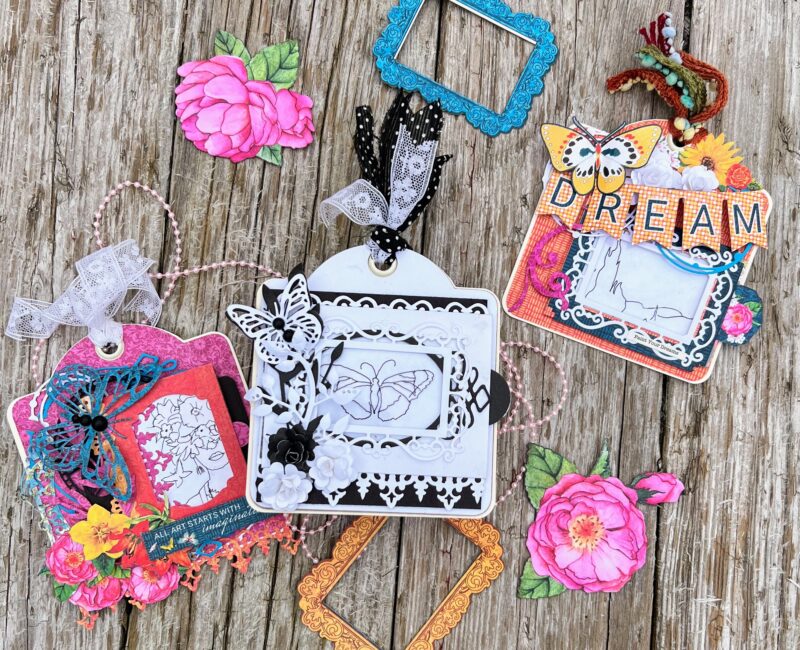
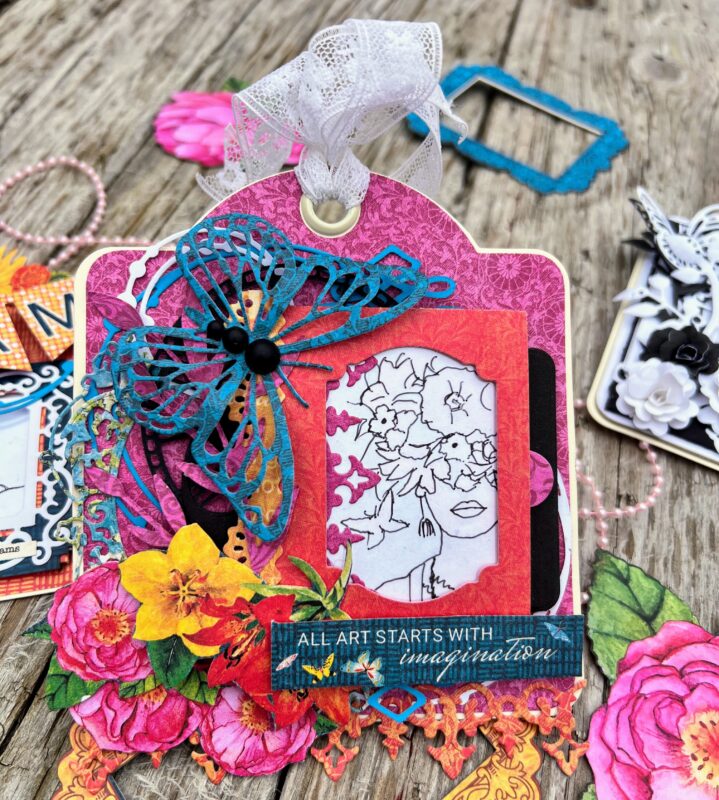
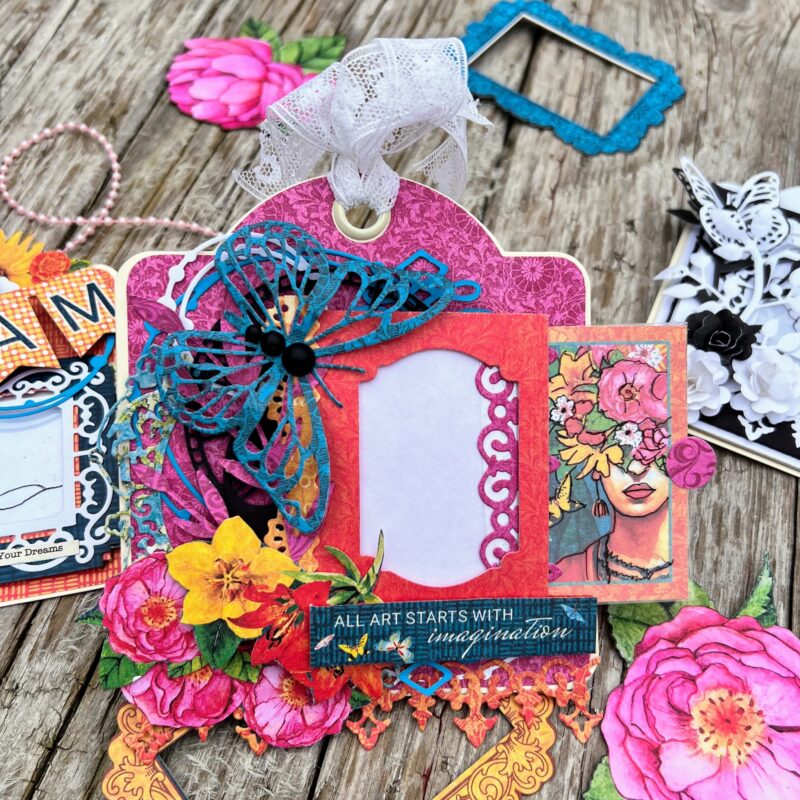
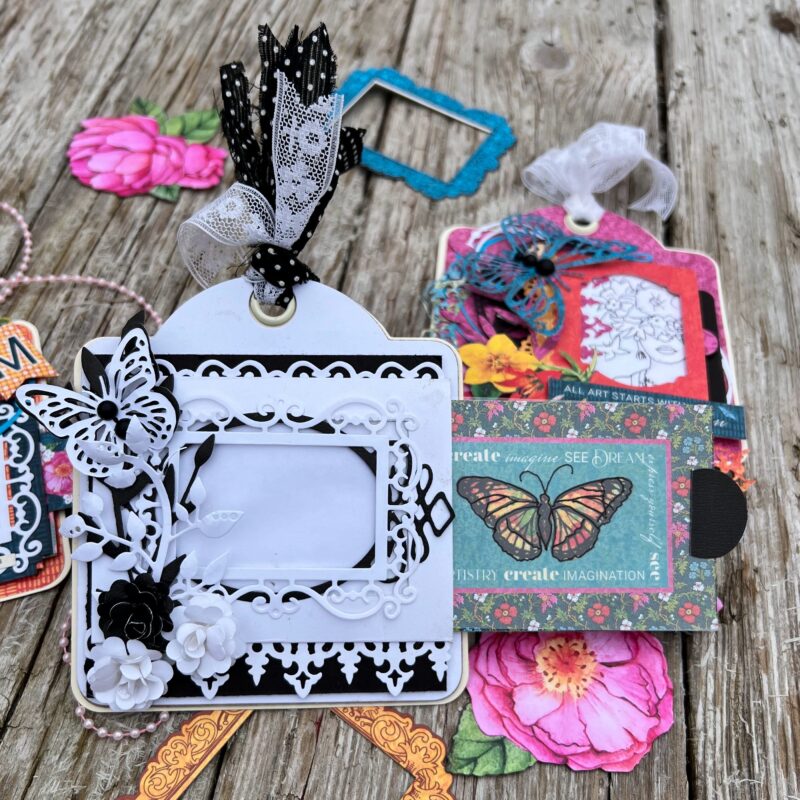
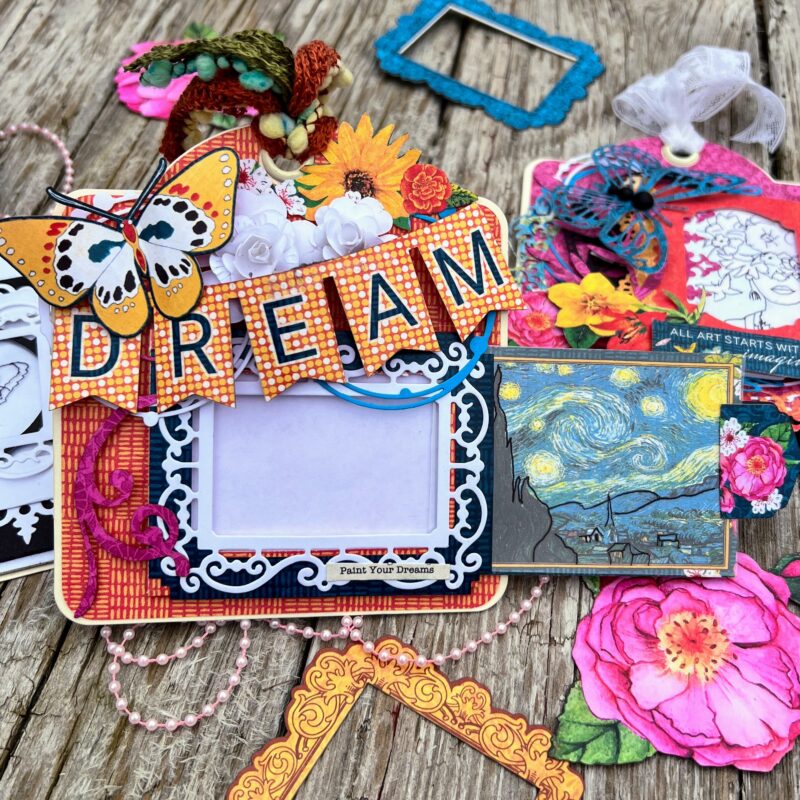
Today, I am sharing 3 interactive square slider tags using the Let’s Get Artsy paper collection, tags & frames, ephemera, and Graphic 45 die cuts.
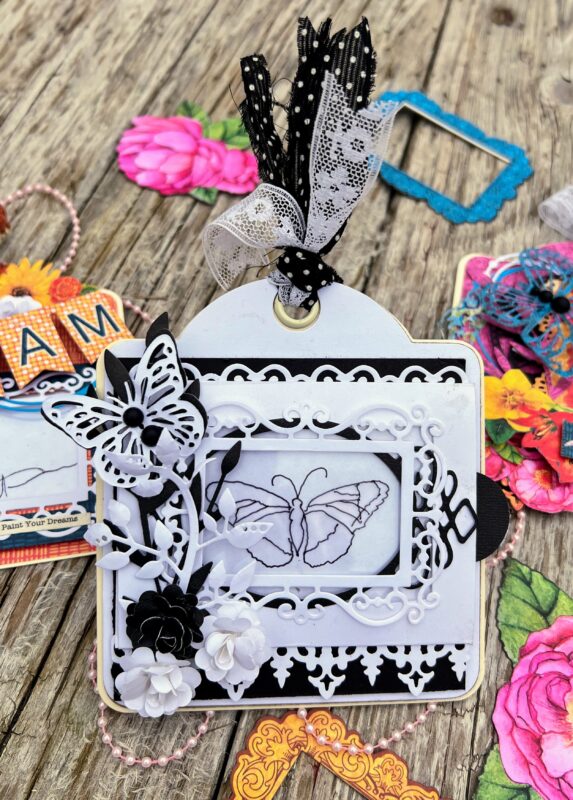 |  |
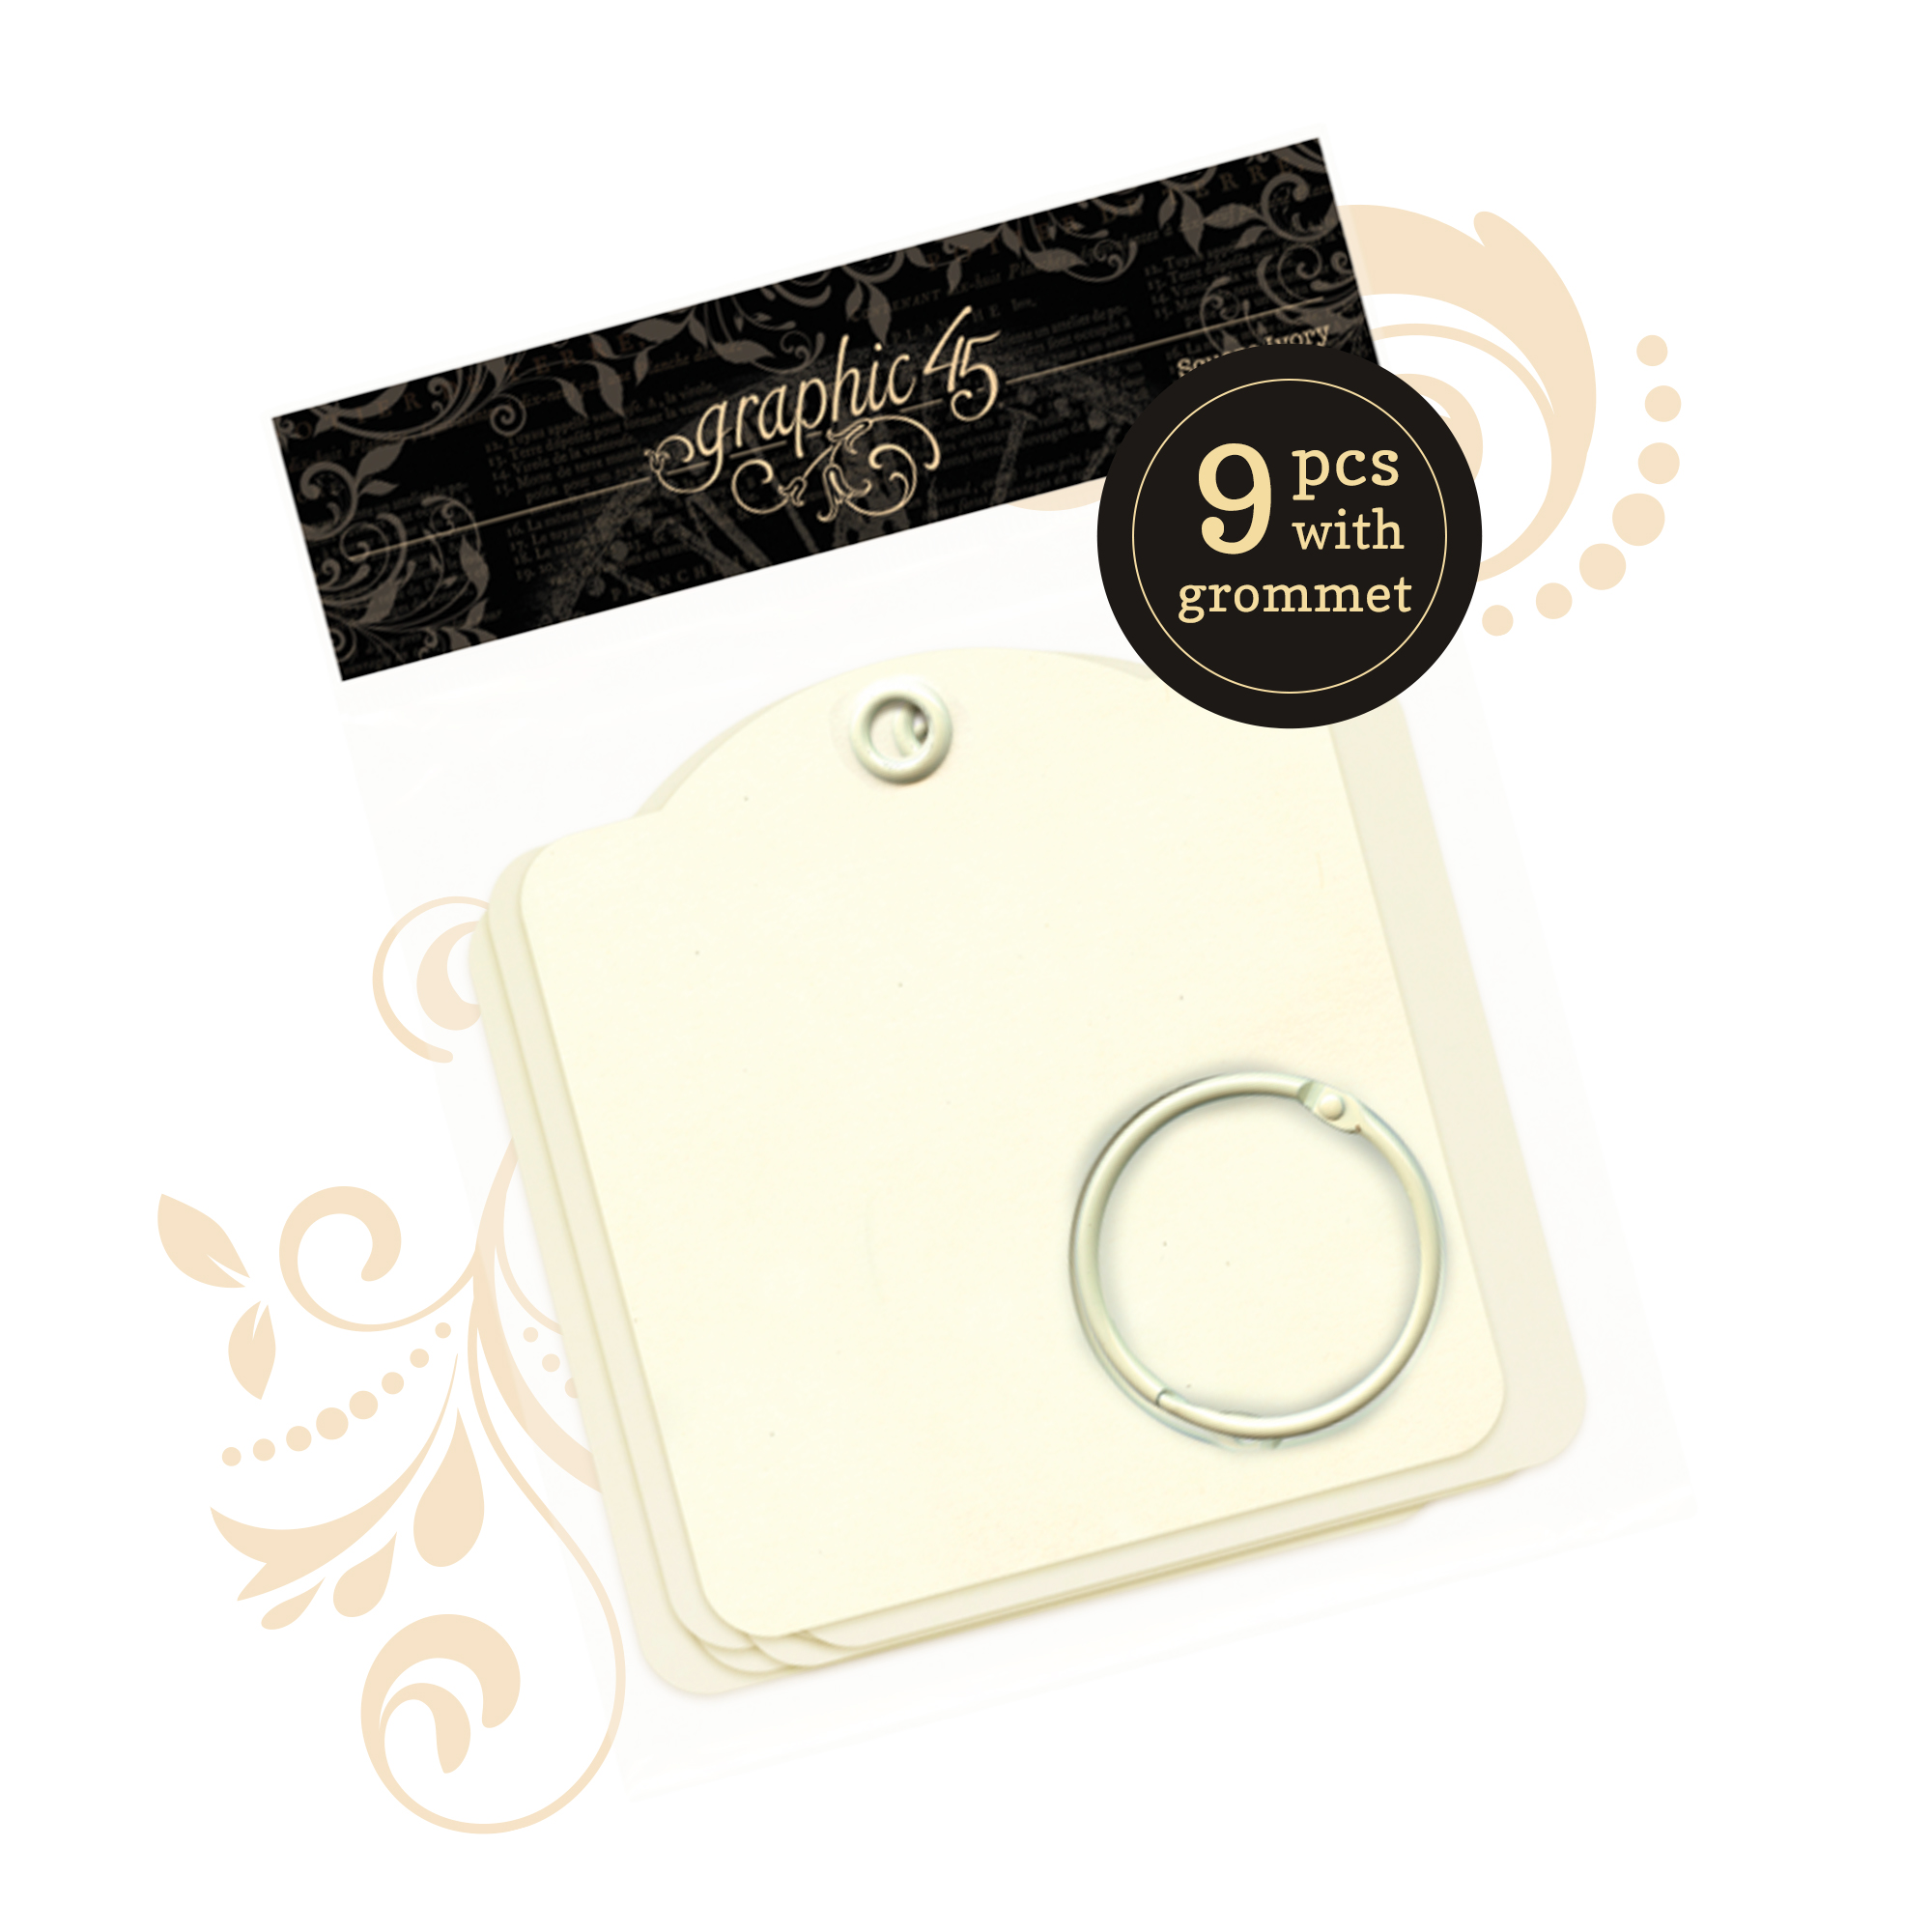
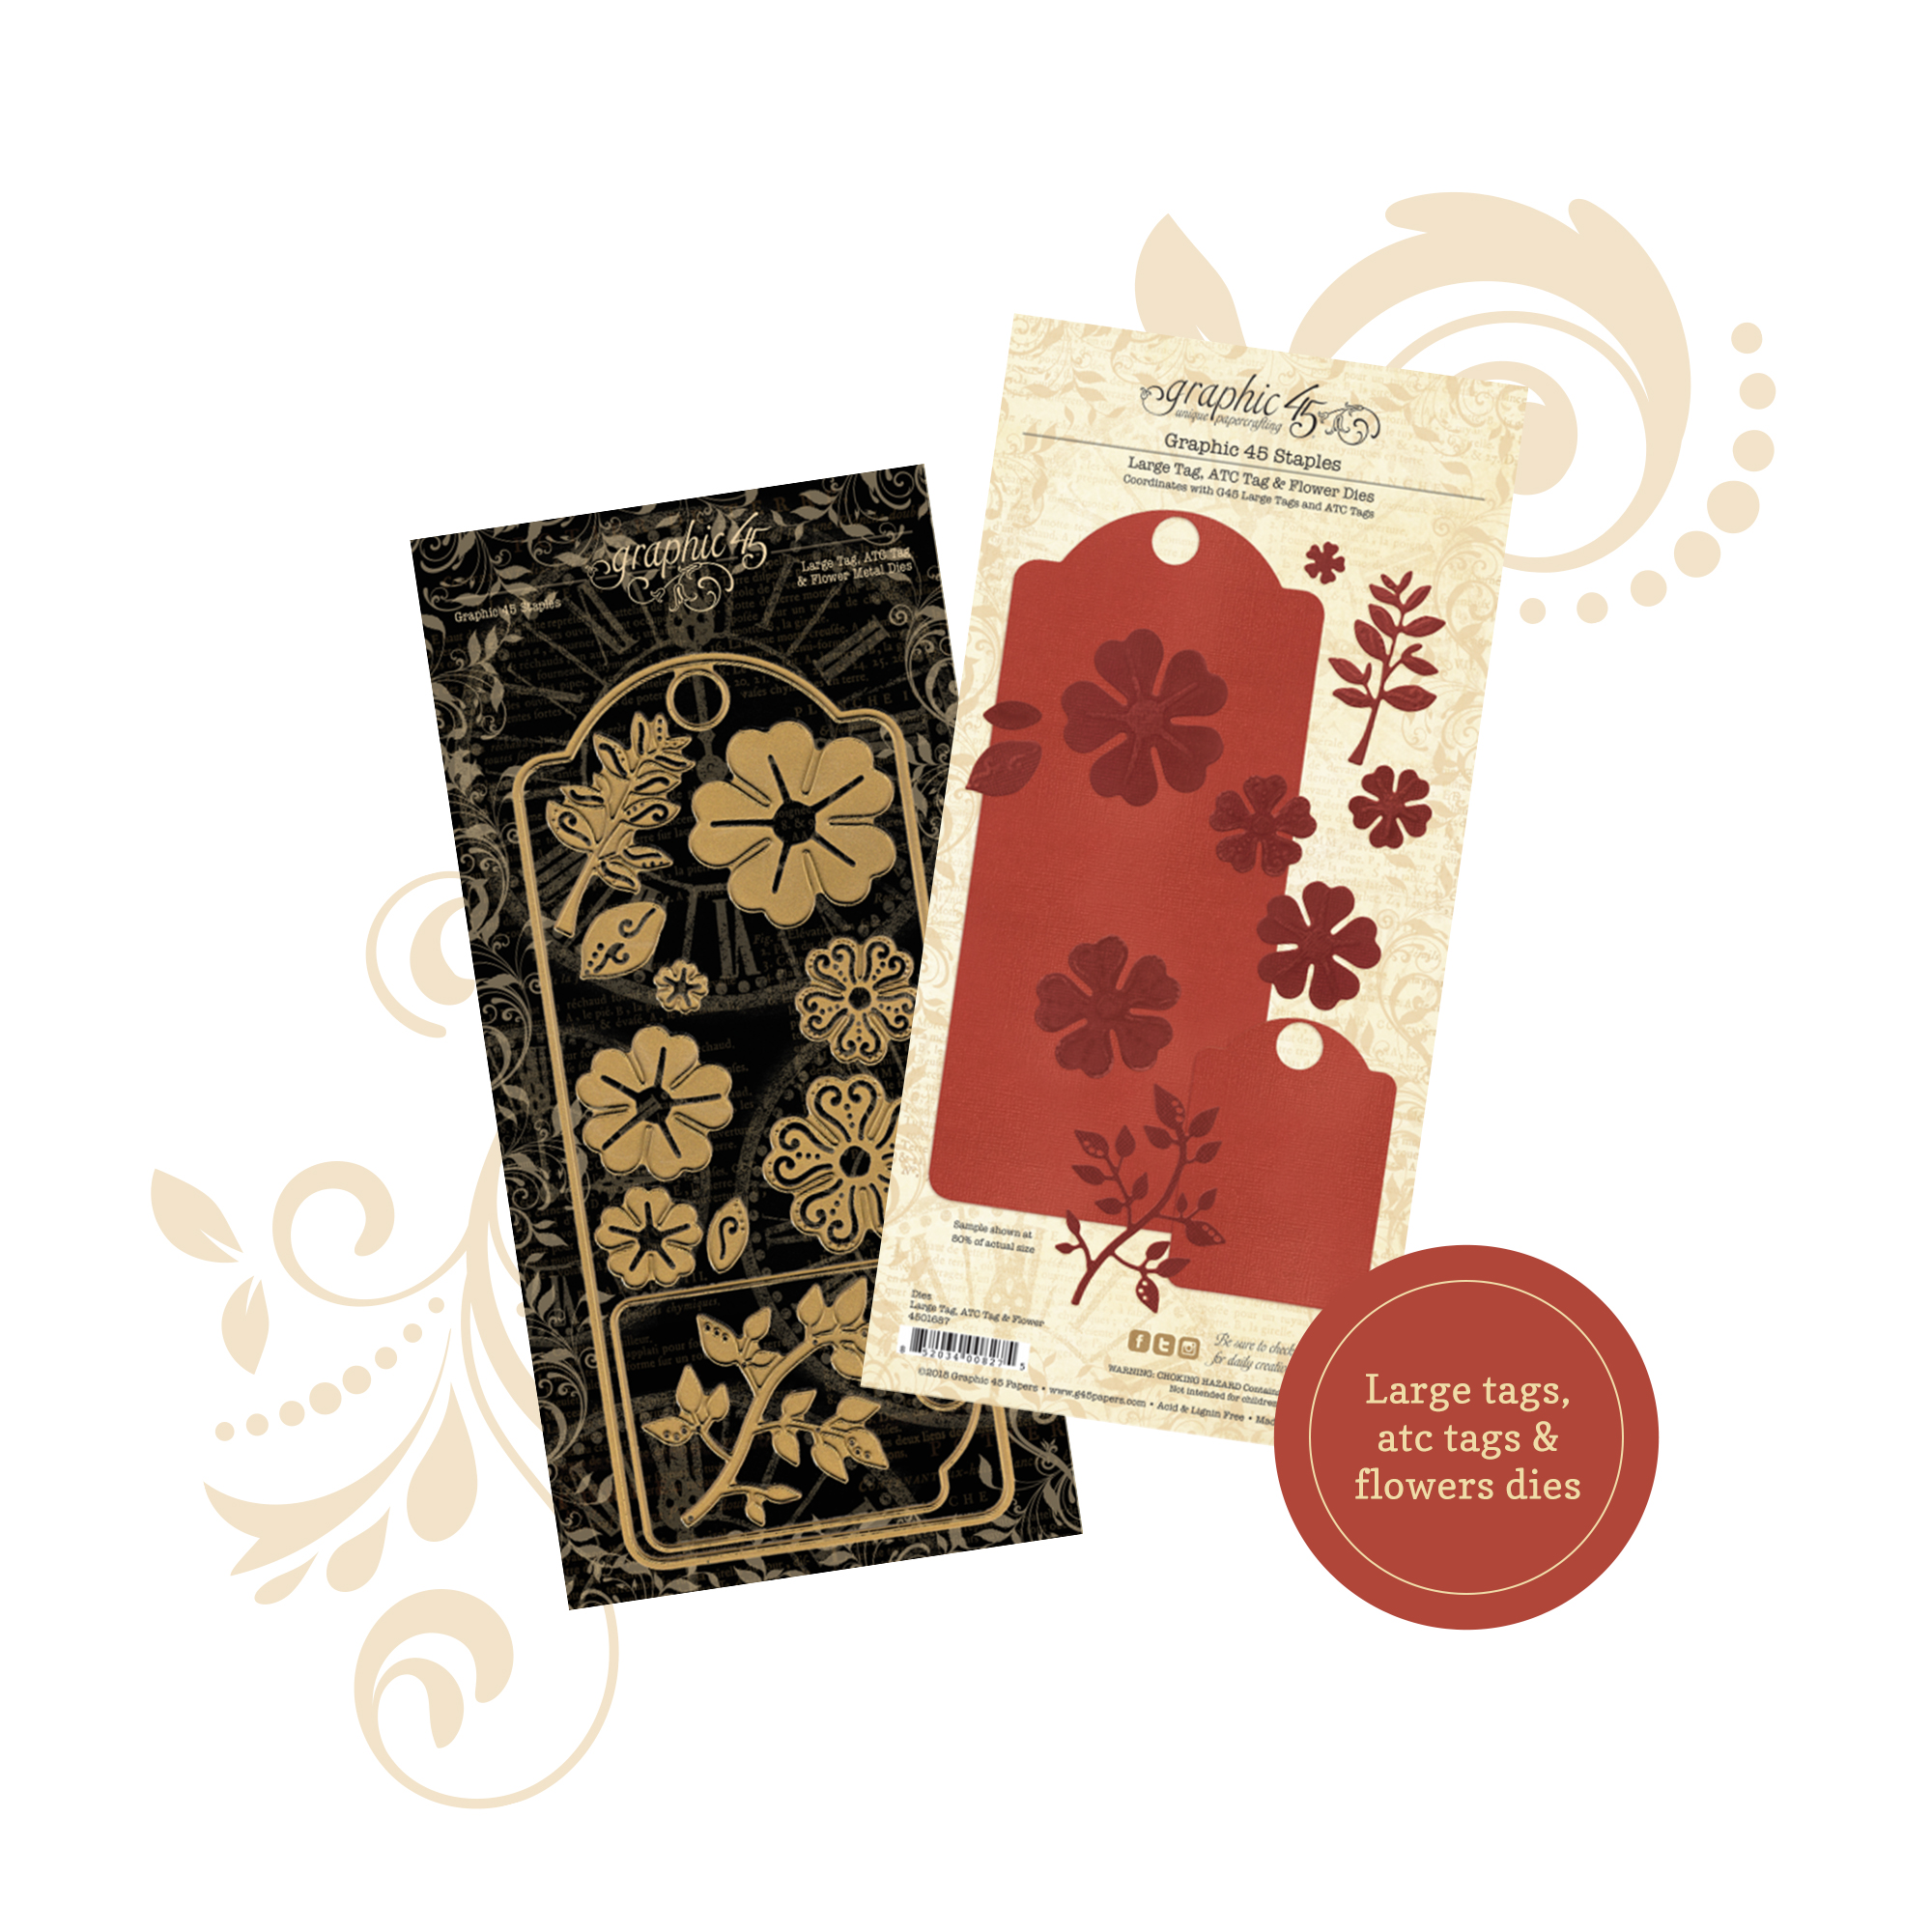
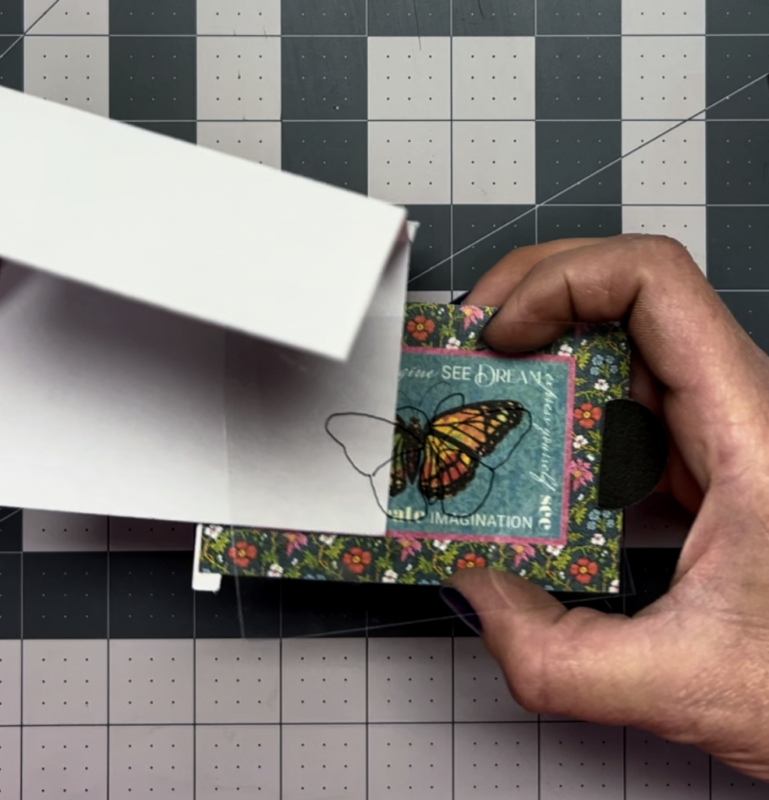
To make this tag, I started with a square ivory tag, and using the square die, I cut a piece of white cardstock.
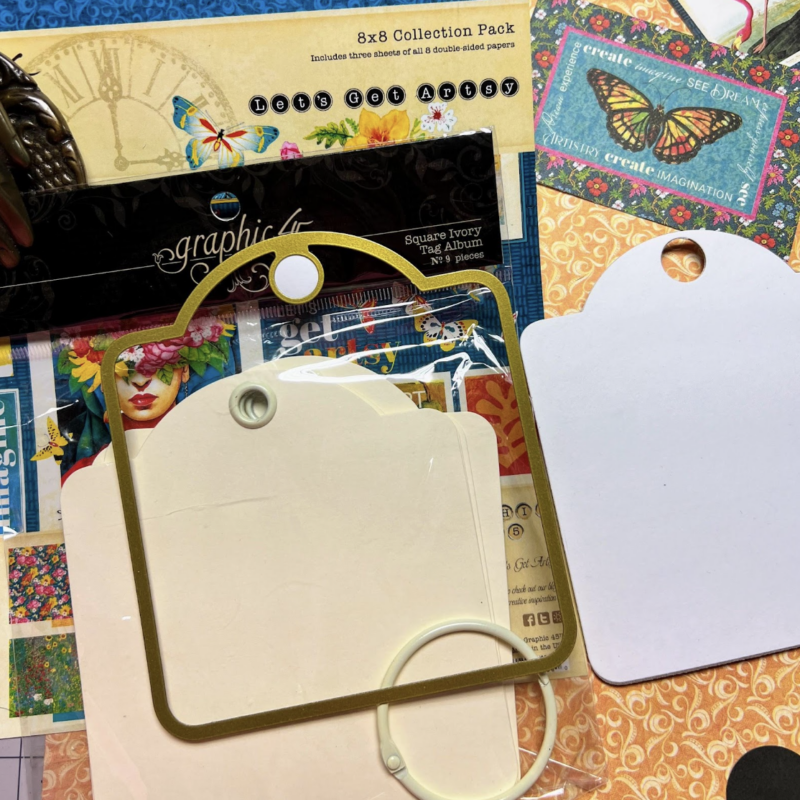
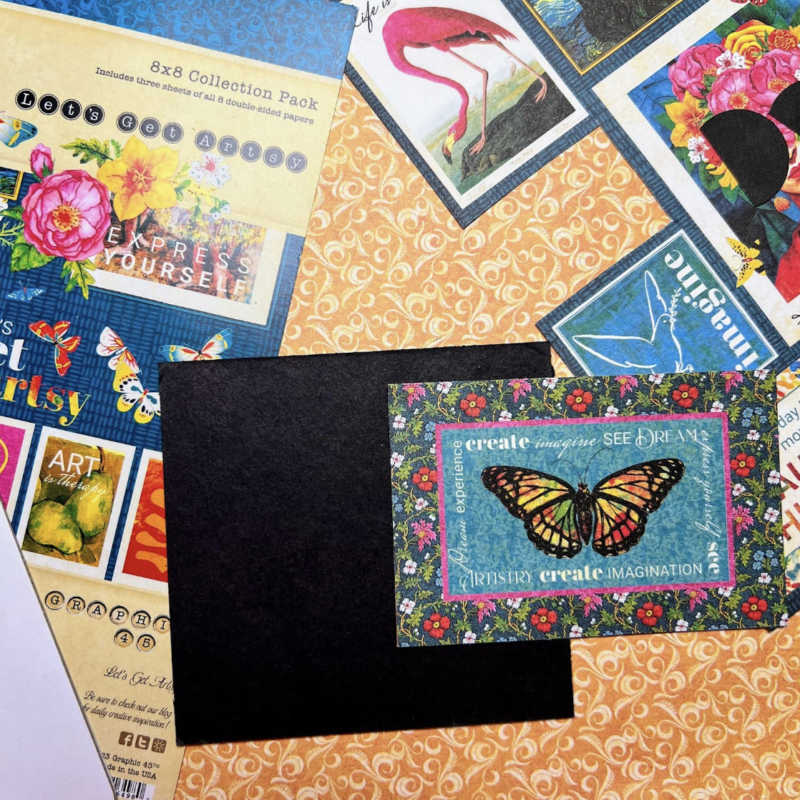
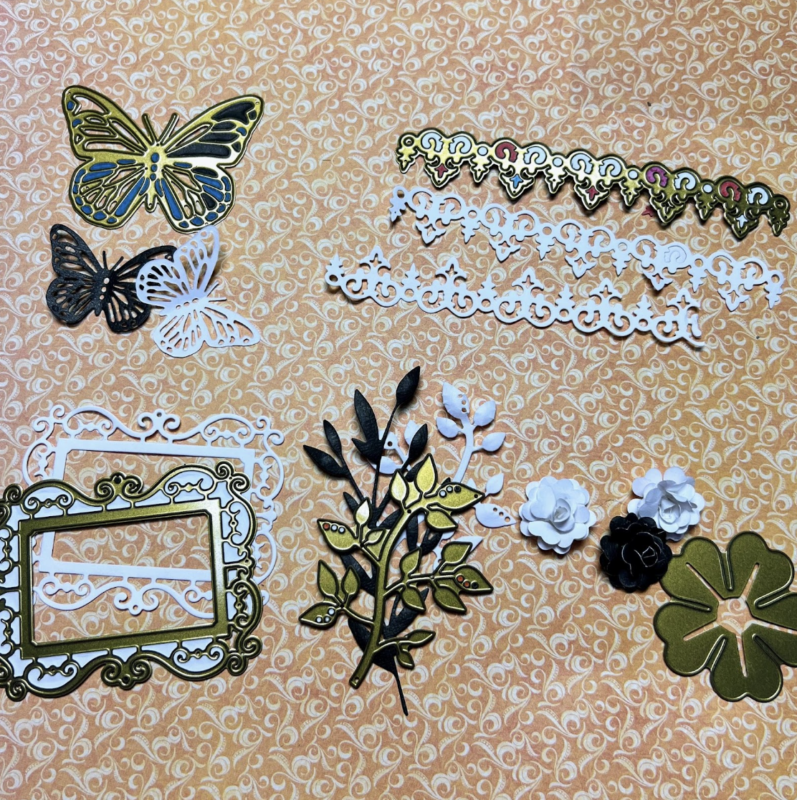
Then, I cut the butterfly image from the paper collection and cut a piece of chipboard 3 7/8″ by 4″.
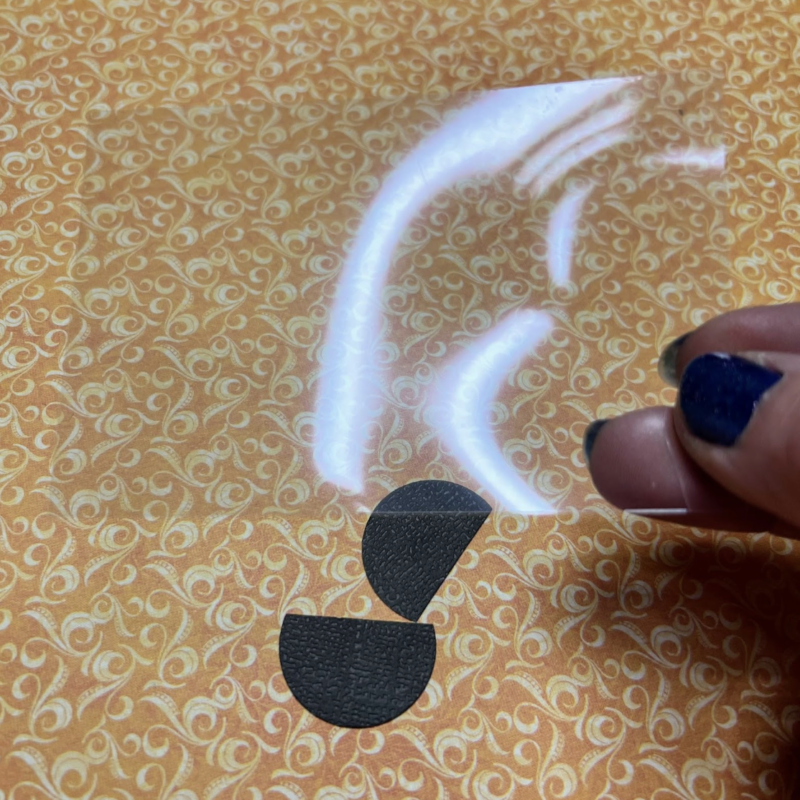
I cut two 1″ circles and trimmed about 1/4″ off the bottom of each, to use as a pull tab and a 2 5/8″ by 4″ transparency.
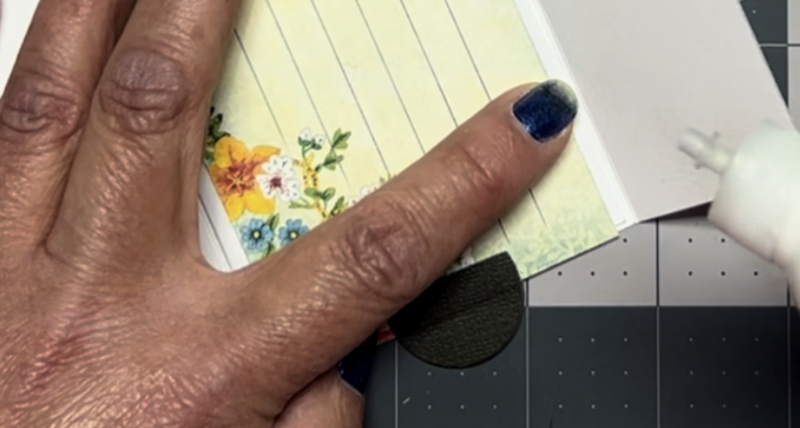
Cut a piece of printer paper to 3 1/4″ by 4″ and score on the 3 1/4″side at 3/8″.
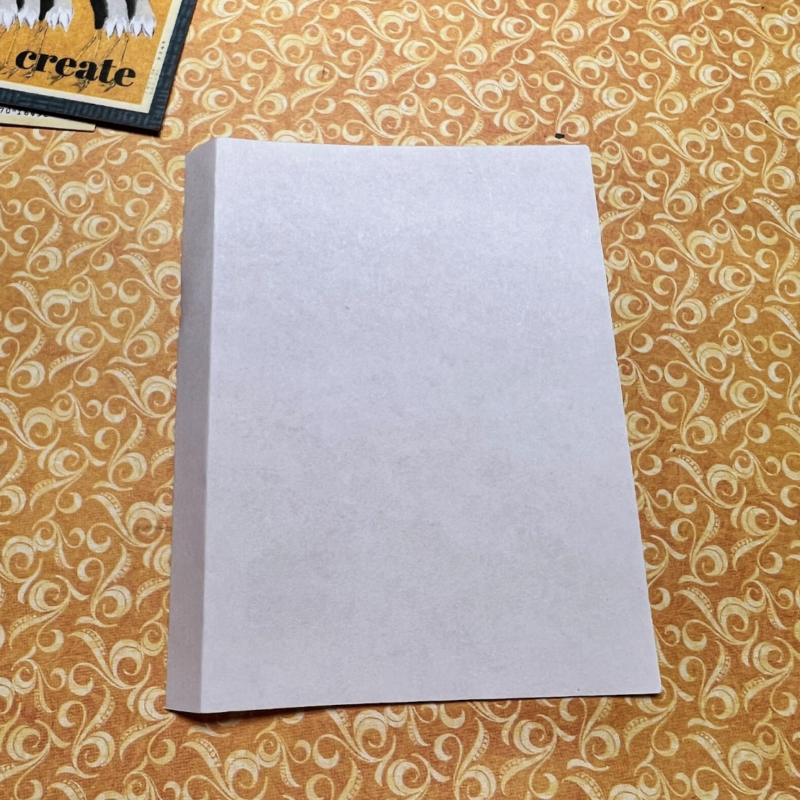
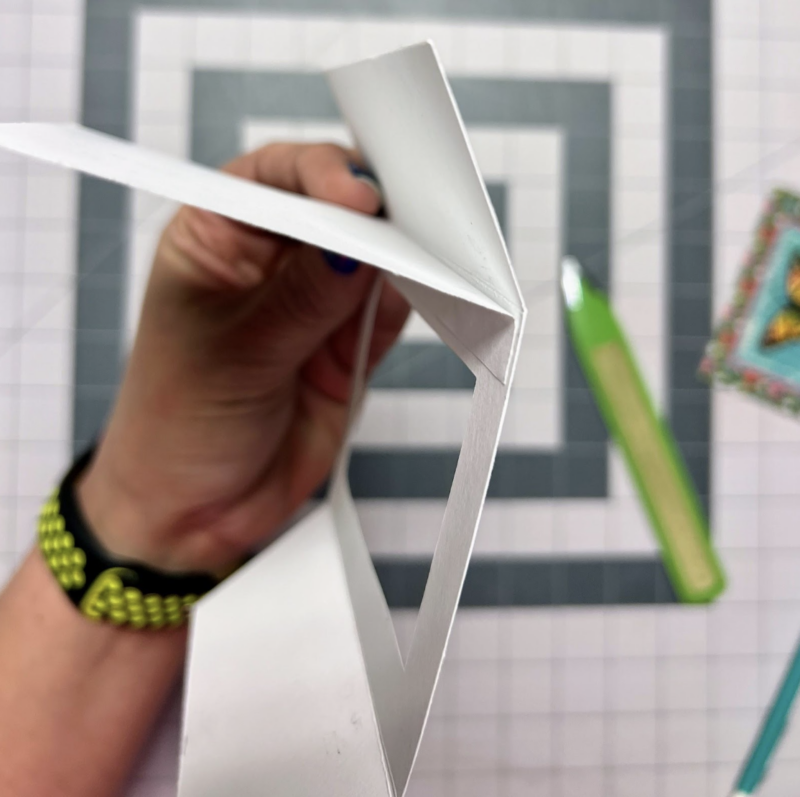
Cut a piece of white cardstock or pattern paper 4″ by 6 1/4″, and on the 6 1/4″ side, score at
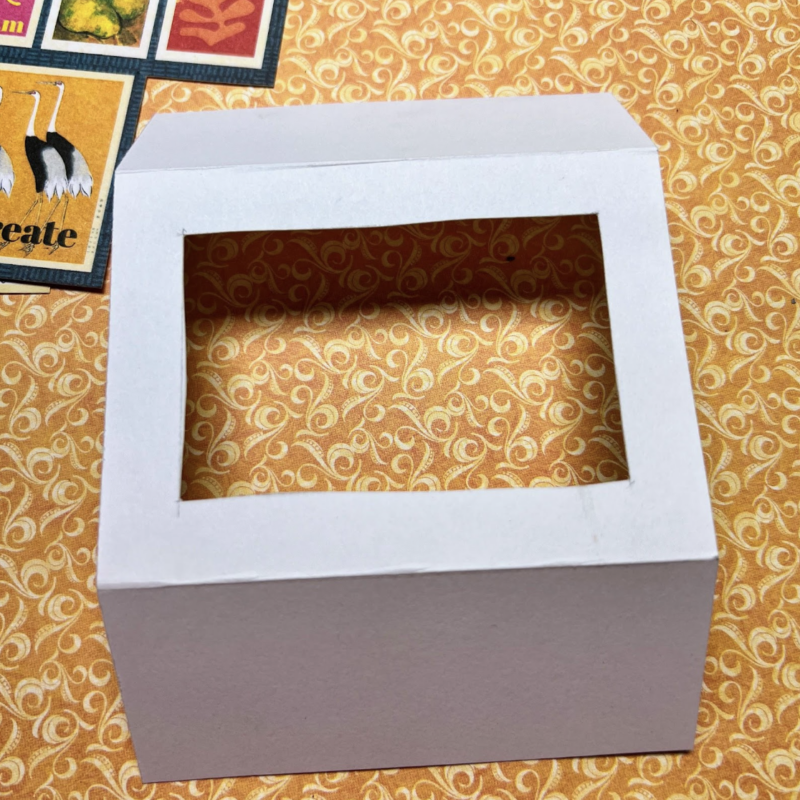
1 3/4″ and 4 3/4″. In the middle section, cut a 2″ by 3″ window.
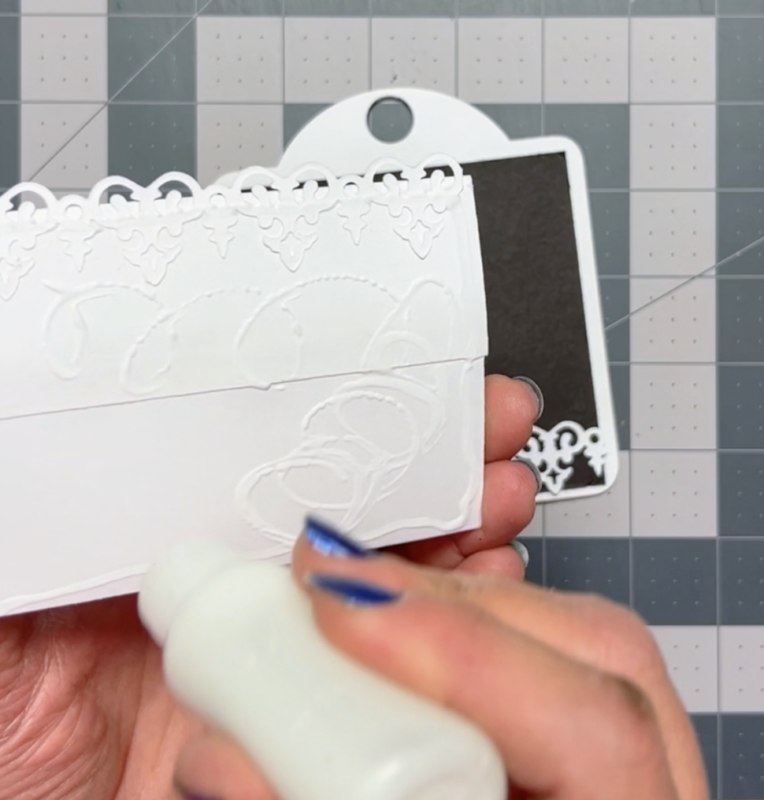
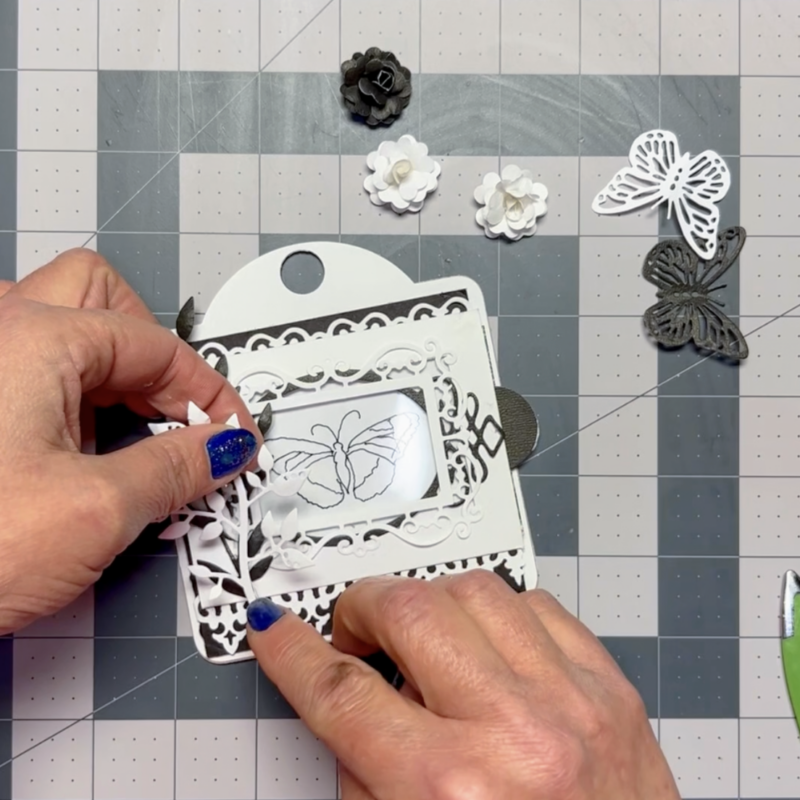
You will also need to cut a small scrap to 1/4″ by 3″ to use as the stopper and several die cuts to give it that layered effect.
Layer transparency over your butterfly image and add the circle pull tabs evenly to the right side.
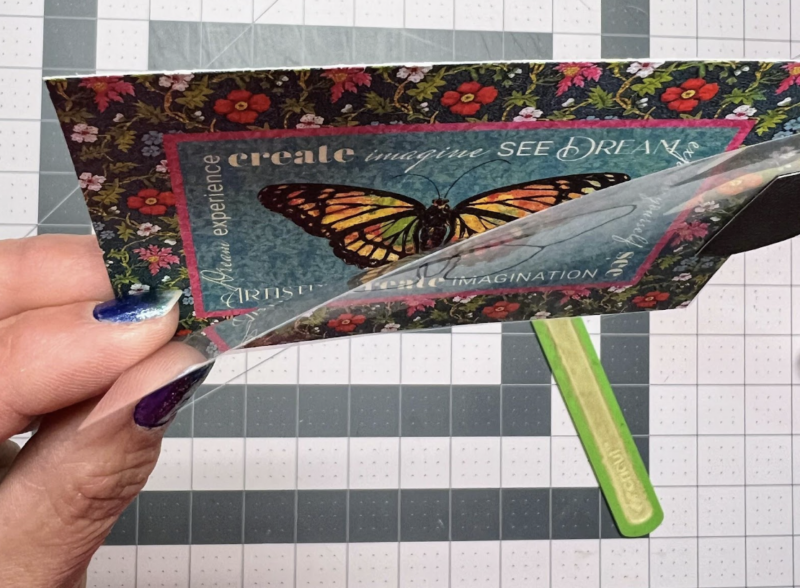
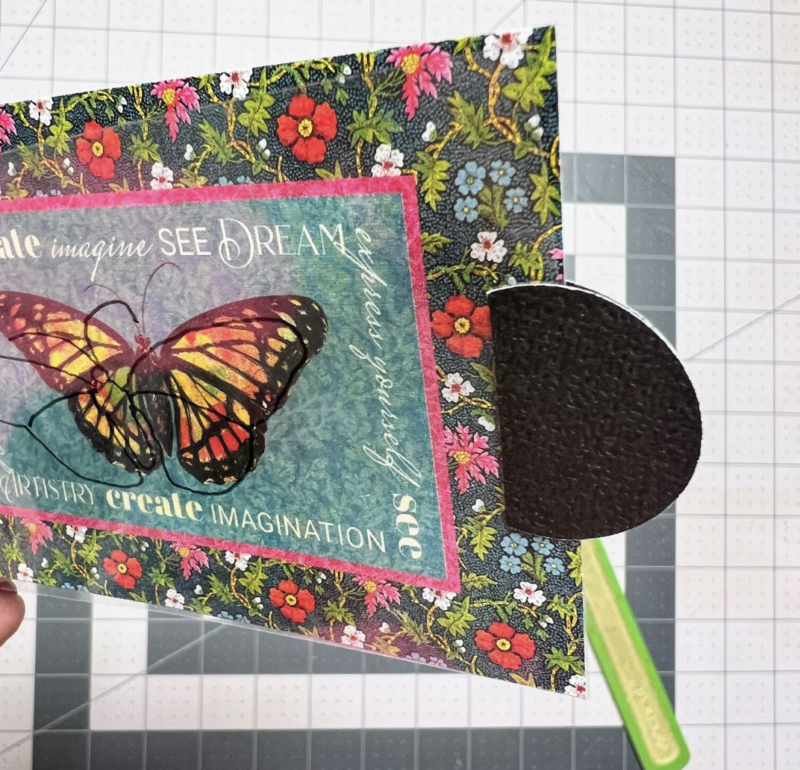
Take a permanent marker and on the transparency, trace some of the butterfly.
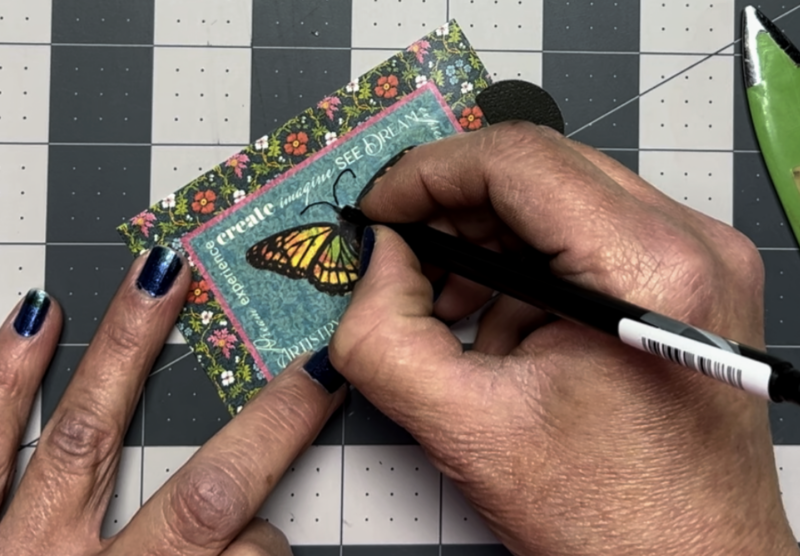
Adhere the 1/4′ by 3″ strip to the edge of the butterfly image

Take your cardstock base that we cut the window in and the printer paper piece and adhere it next to the score line.
Slide your butterfly image on the transparency over printer paper so your images sandwich the printer paper.
Before you glue it shut, put a little glue or small pieces of foam tape on each edge by the score line, on the pull tab end so your image has a stopping point.
I glued the black chipboard to my tag base, added a few die cuts, then my slider, continued adding more die cuts creating layers, and finished off my tag by adding some lace and torn fabric to the top.
I did prepare a #g45reel for you that can be found on instagram, facebook or TikTok.
You can find the complete tutorial for Starry Night Dream tag on my youtube channel.
Interactive Slider Tag Tutorial
 |  |
I hope my tags have inspired you!
-clear transparency
-printer paper
-marker
Thank you so much for joining me today!”
Gina aka c90designs
Want even more Graphic 45? Sign up for our newsletter here.